How to set up Outbound routing
This page shows an example of how Outbound routing could be set up. This example assumes that the site already has a trunk group for Outbound and that the person doing the configuration has access to Platform Administration and Designer.
Note: Keep in mind that this is just one possible method and that your site might require a different approach.
Basically, this type of setup involves the following steps:
- Create a Routing Point DN on the primary SIP Server.
- Create a Virtual Queue DN on the statistics server.
- Create a new Agent Group for outbound agents and assign them to it.
- Create a new Designer application that ties it all together.
Create a new Routing Point DN
In Platform Administration, go to Switching and select DNs.
On the primary SIP Server switch, browse to the folder where you want to add the new DN.
Add a new DN and choose Routing Point as the Type.
Create a new Virtual Queue DN
In Platform Administration, go to Switching and select DNs.
On the statistics switch, browse to the folder where you want to add the new DN.
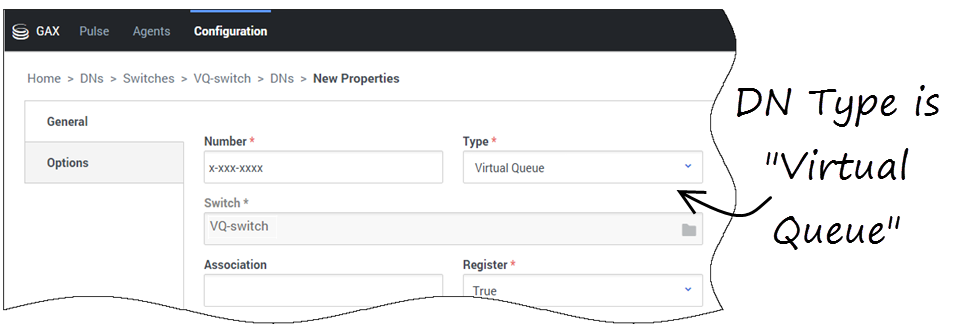
Add a new DN and choose Virtual Queue as the Type.
Create an Agent Group for Outbound agents
Under Origination DNs, add the Routing Point and Virtual Queue you created earlier.
Next, go to Options, and add a new option for the Outbound account time zone:
- Section = default
- Key = tz
- Value = (enter the time zone of the OCS account)
Now you can assign your Outbound agents to the new Agent Group. Go into the Agent Group properties, select the Agents tab, and choose the agents you want to add.
Note: New Agent Groups are automatically synchronized with the OCS account, so you'll be able to see them when creating campaigns.
Create an application for Outbound routing
In Designer, create a new application to use for Outbound routing. (Need help with this? See the Designer help.)
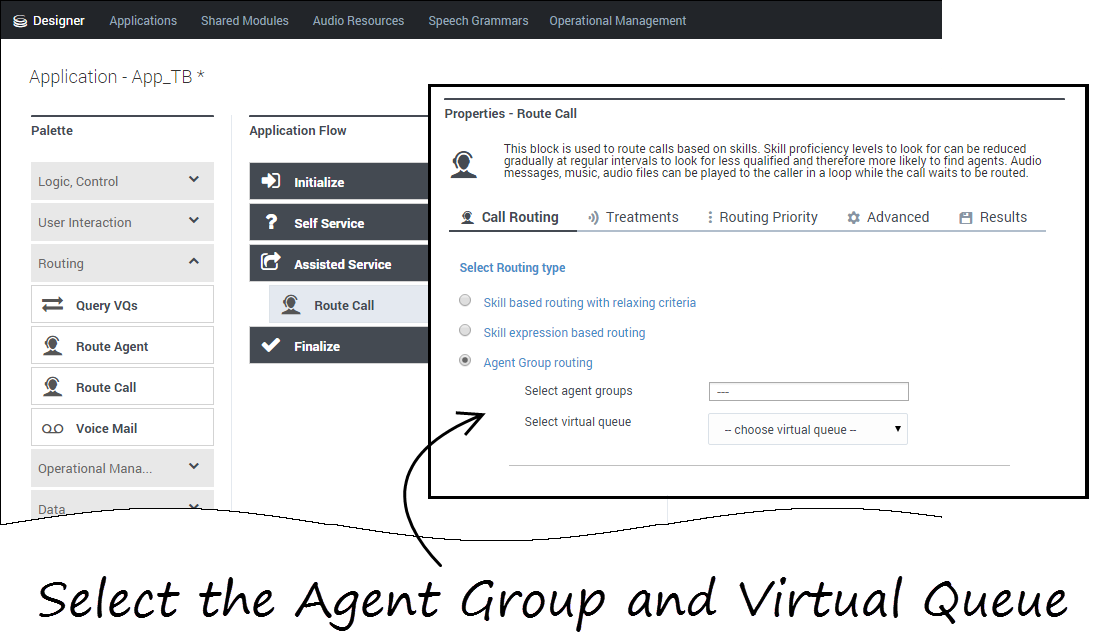
From the Palette, expand the Routing section and add a Route Call block to the Assisted Service phase of the Application Flow.
In the application properties, under Call Routing, select Agent group routing and choose the Agent Group and Virtual Queue you created earlier.
Next, under Treatments, add a Treatment for Busy to your application.
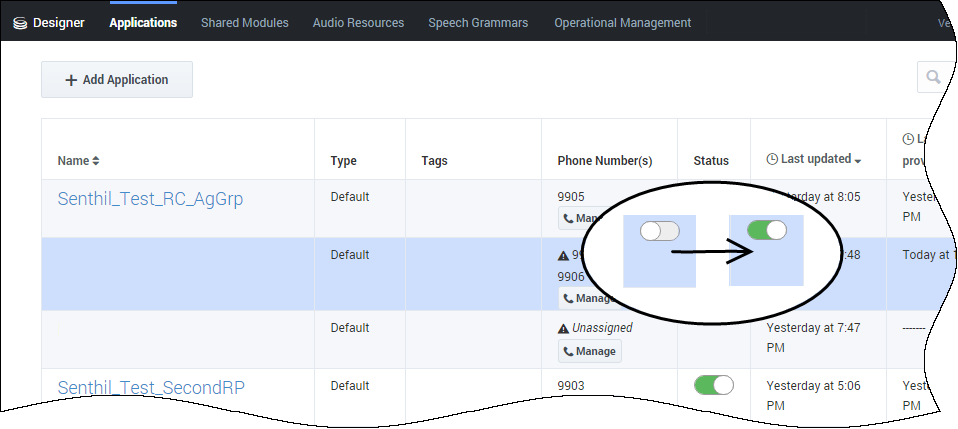
When you are done, save and publish the new application.
Assign the Routing Point to the new application
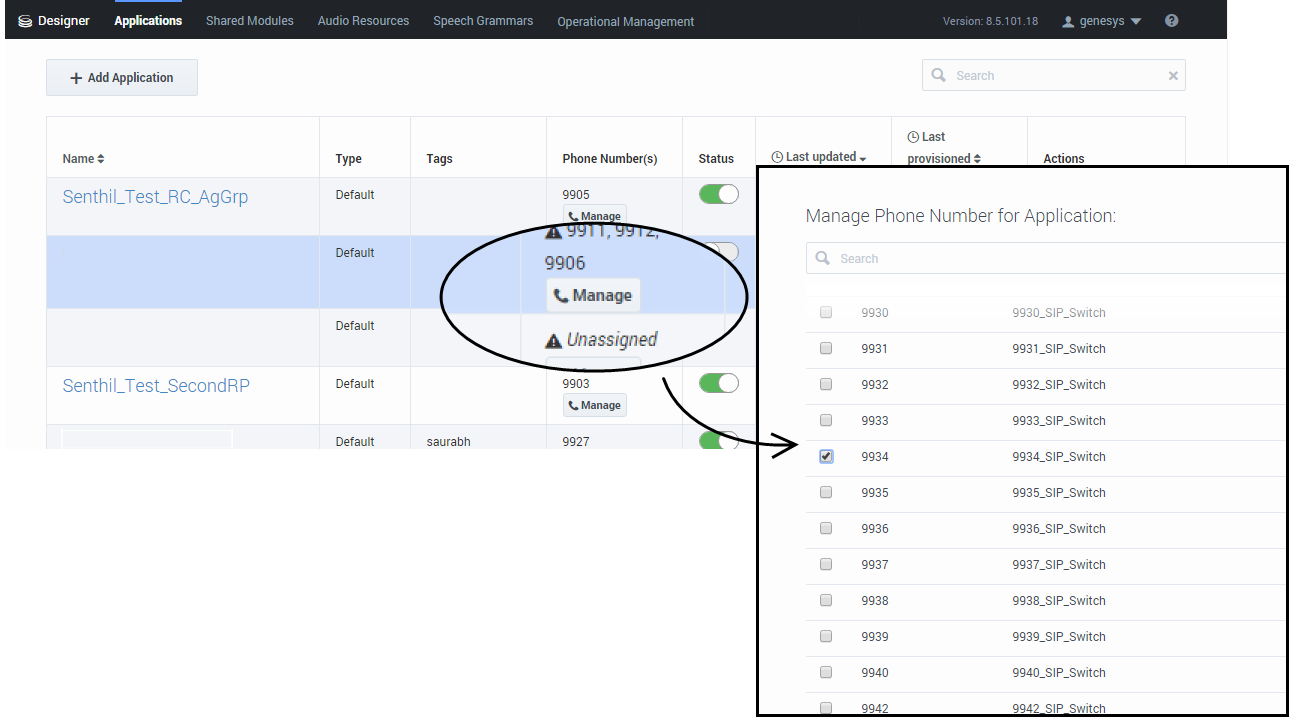
In Designer, find the new application in the main list and select Manage.
From the list of Phone Numbers, select the Routing Point DN you configured earlier.


