Get started with Agent Setup
Learn how Agent Setup enables you to configure a fully-functioning contact center that aligns with your company’s goals and meets your customers’ needs.
Agent Setup is about controlling your contact center and its resources:
- The people who run and operate it – that’s the administrators who control the technical ins and outs, the managers who run the day-to-day operations and administrative aspects of a contact center, the supervisors who oversee agents, and the agents who communicate with customers.
- The systems and programs that make the day-to-day stuff possible – that’s the telephony, the software, the servers, the routing and dialing strategies, and so on.
- The features and capabilities we use to meet our business needs and requirements - those are things like Caller ID capabilities, voicemail, agent transfers and conferencing, and so on.
Before you start
You access the Agent Setup interface through one of its supported web browsers. See the Web browsers support section in Genesys Multicloud CX system requirements for a list of all supported web browsers.
Access the application[edit source]
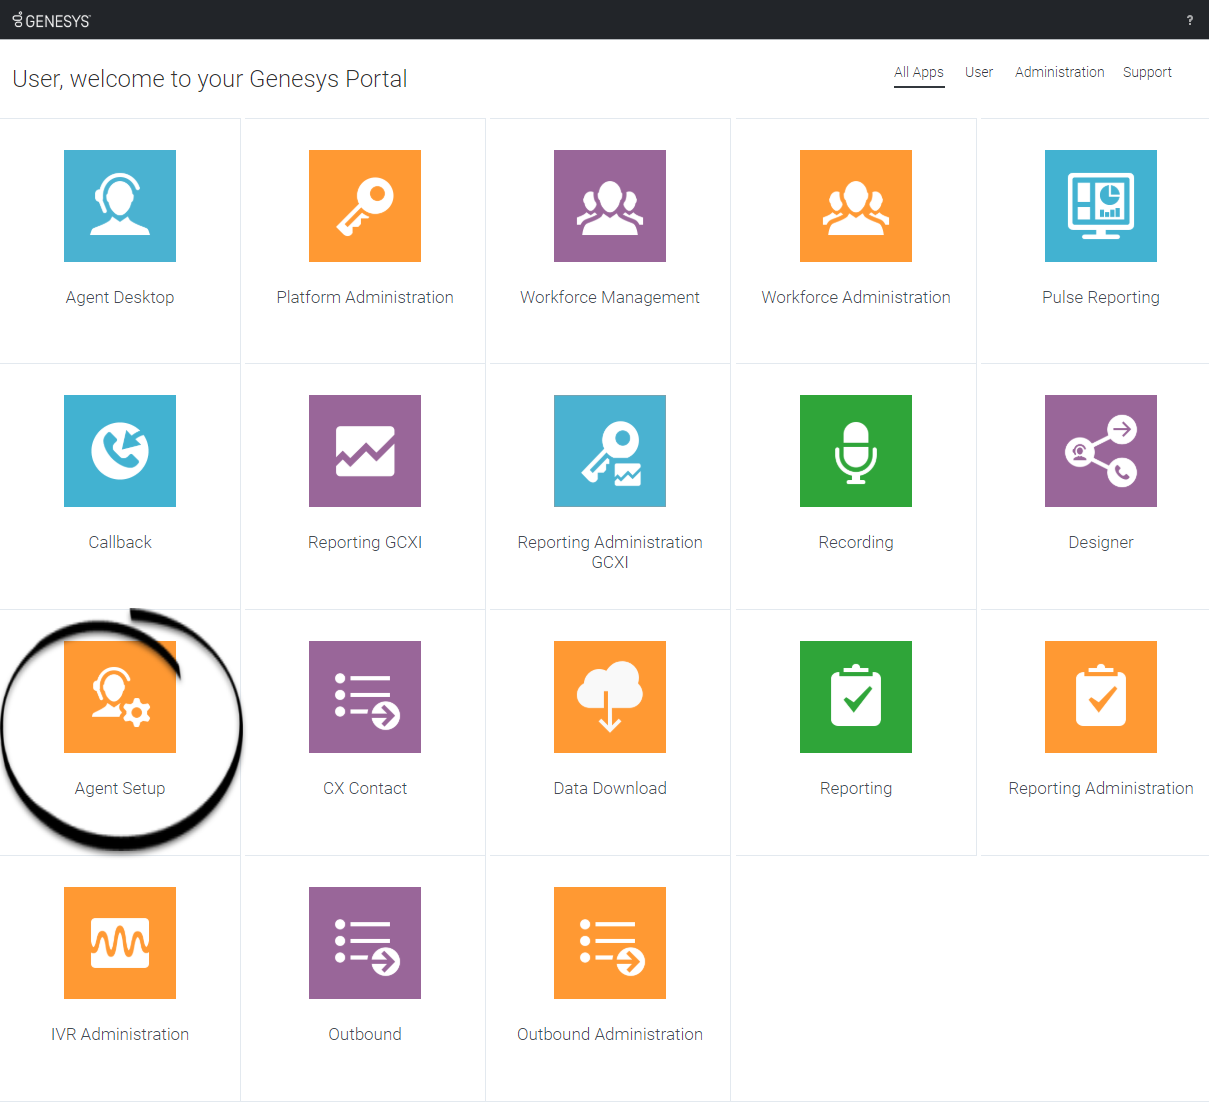
Once your Genesys Multicloud CX environment is up and running and you've checked that you meet the necessary requirements, log in to your Genesys Portal to access Agent Setup. Click the Agent Setup icon and enter your username and password.
If your environment uses single sign-on (SSO) identity authentication, your log in experience might be a little different. After entering your username in the application login screen, you will be taken to your company's authentication provider where you will enter your username and password. After that, you will no have to log in again until your authentication expires which is typically every eight hours. Using SSO means that once you log in to one application, you will not have to log in to any other applications that are also set up for SSO.
Standby Agent Setup
Use the Standby Agent Setup tile when Agent Setup in the primary region is down. The Standby Agent Setup tile is always in readonly mode, and only becomes active after the primary region goes down.
Roles and access
Before you log in to the application, you should know the difference between the distinctive roles in Agent Setup:
Start by determining who can do what in your contact center.
- The Agent Setup administrator is the person with full control over configuration of your contact center, your users, and your desktop applications. Administrators belong to both the Administrator access group and the Agent Setup Administrator access group. Generally, each of these access groups are prepended with your company name.
- The next person in line is the Agent Setup user. That’s the person with extensive capabilities but with restrictions when it comes to configuration and changes. Users belong to the Administrator access group.
- Finally, there's the supervisor. This person has very limited capabilities and is usually limited to read-only access.
To assign these roles to new or existing users, see Manage agents and other users.
Logging in and out
After you log into the Genesys Portal, the Agent Setup displays another login window and you must log in again.
Type your username, click Next, type your password, and click Sign In.
When you have completed your administration tasks, click the menu in the upper-right corner, and select Log Out.
Walk through the application
The Agent Setup application is divided into tabs, each containing a set of related tasks and options.
 The option is inactive. To activate the option, click the check box once. The option is then set to the default setting as specified in the description in the tool tip.
 A check mark indicates that the option is enabled. You can click to disable the option.
 No check mark indicates that the option is disabled. You can click to enable the option.
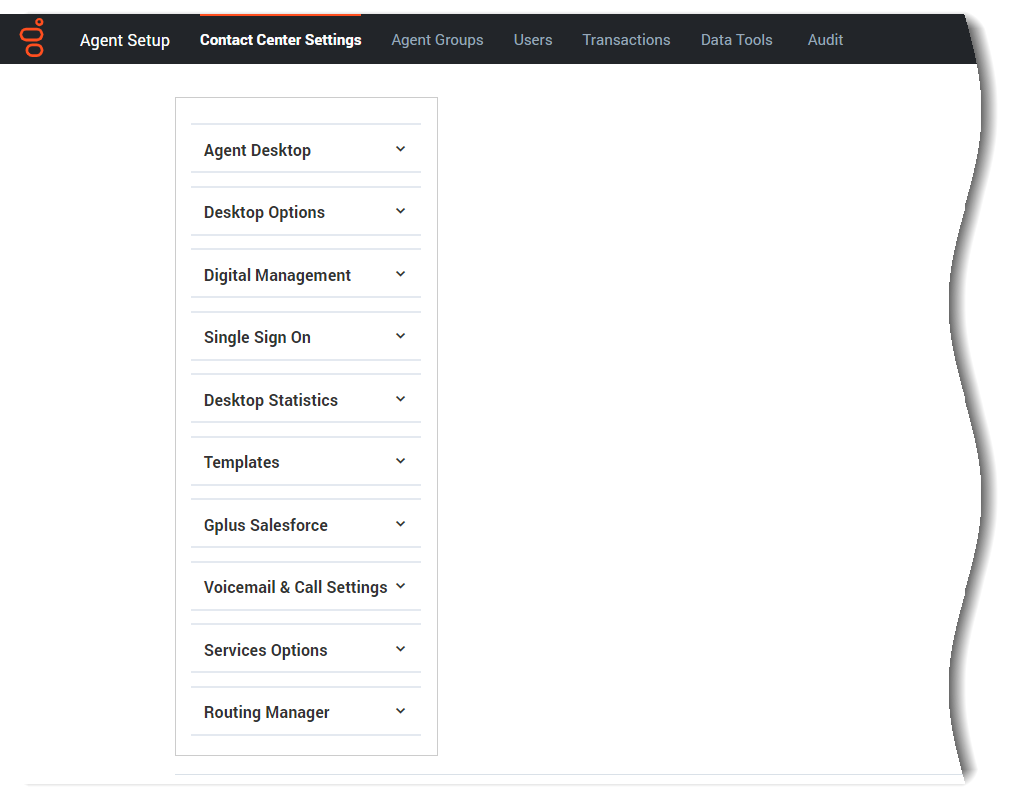
Contact Center Settings
(Click image to expand)
These are the options and tasks that, once enabled, are applied to the global contact center, meaning all agent groups and users within those groups. Some of these tasks and options, however, can be changed at the agent group or user level, or both. See Agent desktop settings overview.
Agent Groups
(Click image to expand)
These are the options and tasks specific to agent groups. These are applied to the agent groups and the agents within those groups. Many of these tasks and options can be changed at the User level, however.
Users
(Click image to expand)
These are the options and tasks specific to individual users (agents, mainly). Key tasks include:
Transactions
(Click image to expand)
Go to this tab to handle business attribute overrides. See Transactions.
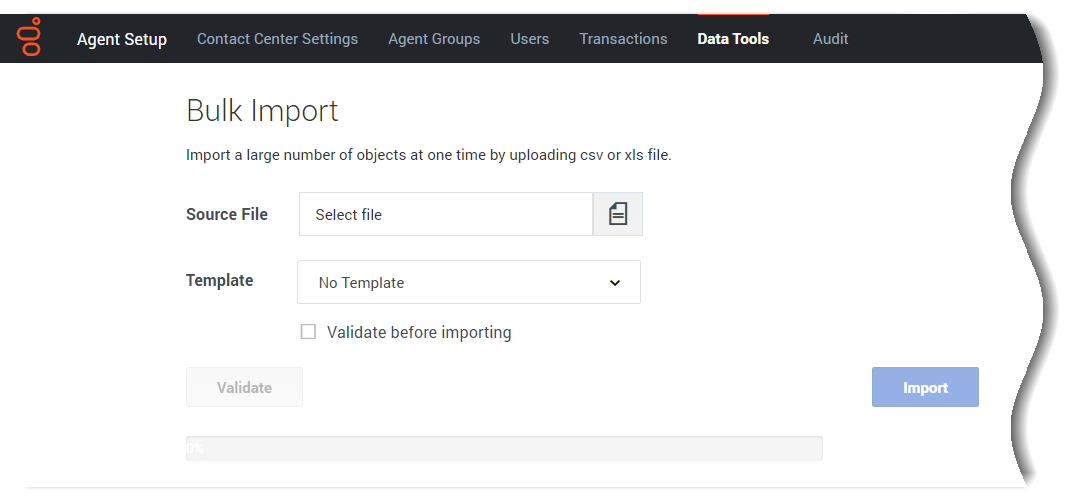
Data Tools
(Click image to expand)
This is where you'll go when you want to use Bulk import to import a file containing a group of agents or contacts.
Audit
(Click image to expand)
This is where you'll go to view and manage logs. See View audit trail.


