Get started with CX Contact
Learn how to get started with the CX Contact application.
An omnichannel outbound campaign management solution that helps build better customer relationships
CX Contact is an omnichannel, outbound campaign management solution that enables you to proactively reach out to your customers in an agile and fully compliant way. It's designed to be easily managed by the business user, providing the agility your organization needs when it comes to how and when to communicate with customers and prospects.
CX Contact is equipped with a built in self-service, email and SMS content management system that enables easy and repeated use of pre-set campaign strategies. The list manager needs no database manipulation skills, and allows the users to easily set profiles and segments to leverage different contact strategies and channels. Every uploaded contact record enriched with global compliance data, enables the business users to consistently manage all regulatory requirements in global, regional or local level.
Proactive informational and personalized outreach not only creates long-lasting relationships, it can also help your operations by decreasing the volume of inbound calls into your contact center. When it comes to your outbound strategy, omnichannel engagement is critical because highly personalized, timely and relevant notifications sent using your customer’s preferred channel, makes engaging easy and drives customer loyalty.
Access the application[edit source]
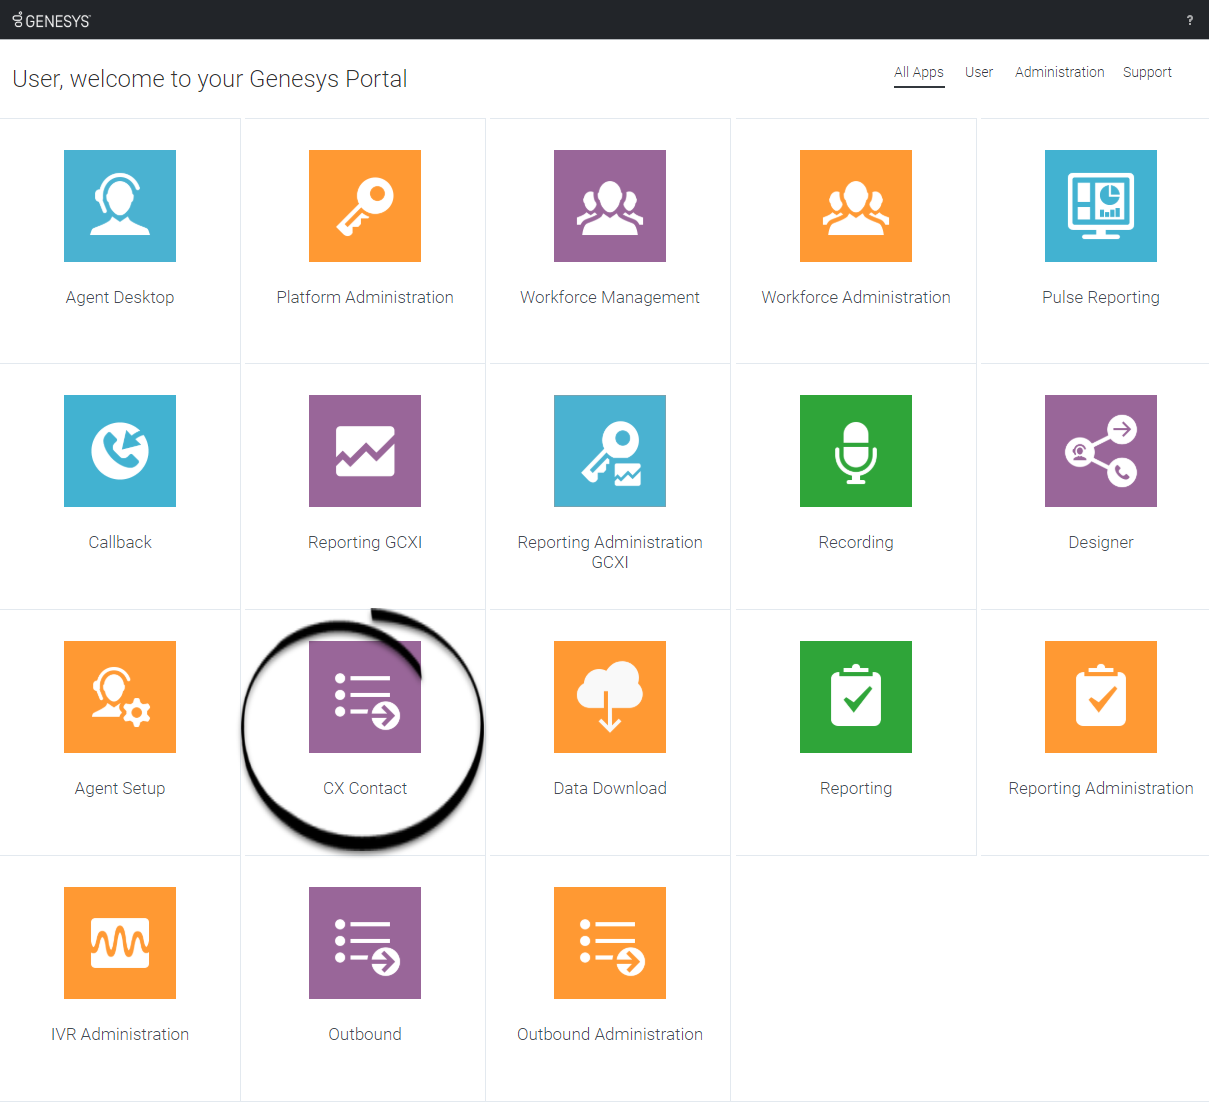
Once your Genesys Multicloud CX environment is up and running and you've checked that you meet the necessary requirements, log in to your Genesys Portal to access CX Contact. Click the CX Contact icon and enter your username and password.
Walk through the application
The CX Contact user interface is broken up into one list and five tabs, each handling a set of tasks. This section gives a brief overview of each tab.
Partitions
Use the Partitions list, to select a partition to define where new outbound objects (for example, campaigns, lists, and so on) are stored. For more information, see the Partitions section in the Settings page.
The Partitions list is located on the right side of the menu. Click to enlarge the image.
 See also, Partition-based Access Controls.
Campaigns tab
Use the Campaigns tab to handle all tasks related to the configuration and management of campaigns, including:
- Set up and manage dialing profiles, campaign templates, and campaign groups.
- Define call treatments.
- View campaign statistics in real-time.
Lists tab
Use the Lists tab to create and work with contact lists. Key capabilities include the following:
- apply upload rules to a list
- create list automation jobs
- create list labeling schemas
- create data mapping schemas
Compliance tab
Use the Compliance tab to:
- Restrict contact attempts to records within a contact list and import or manage contact suppression lists.
- Permit contact attempts to records within a contact list and import or manage consent lists.
- Search for entries in contact suppression lists and consent lists.
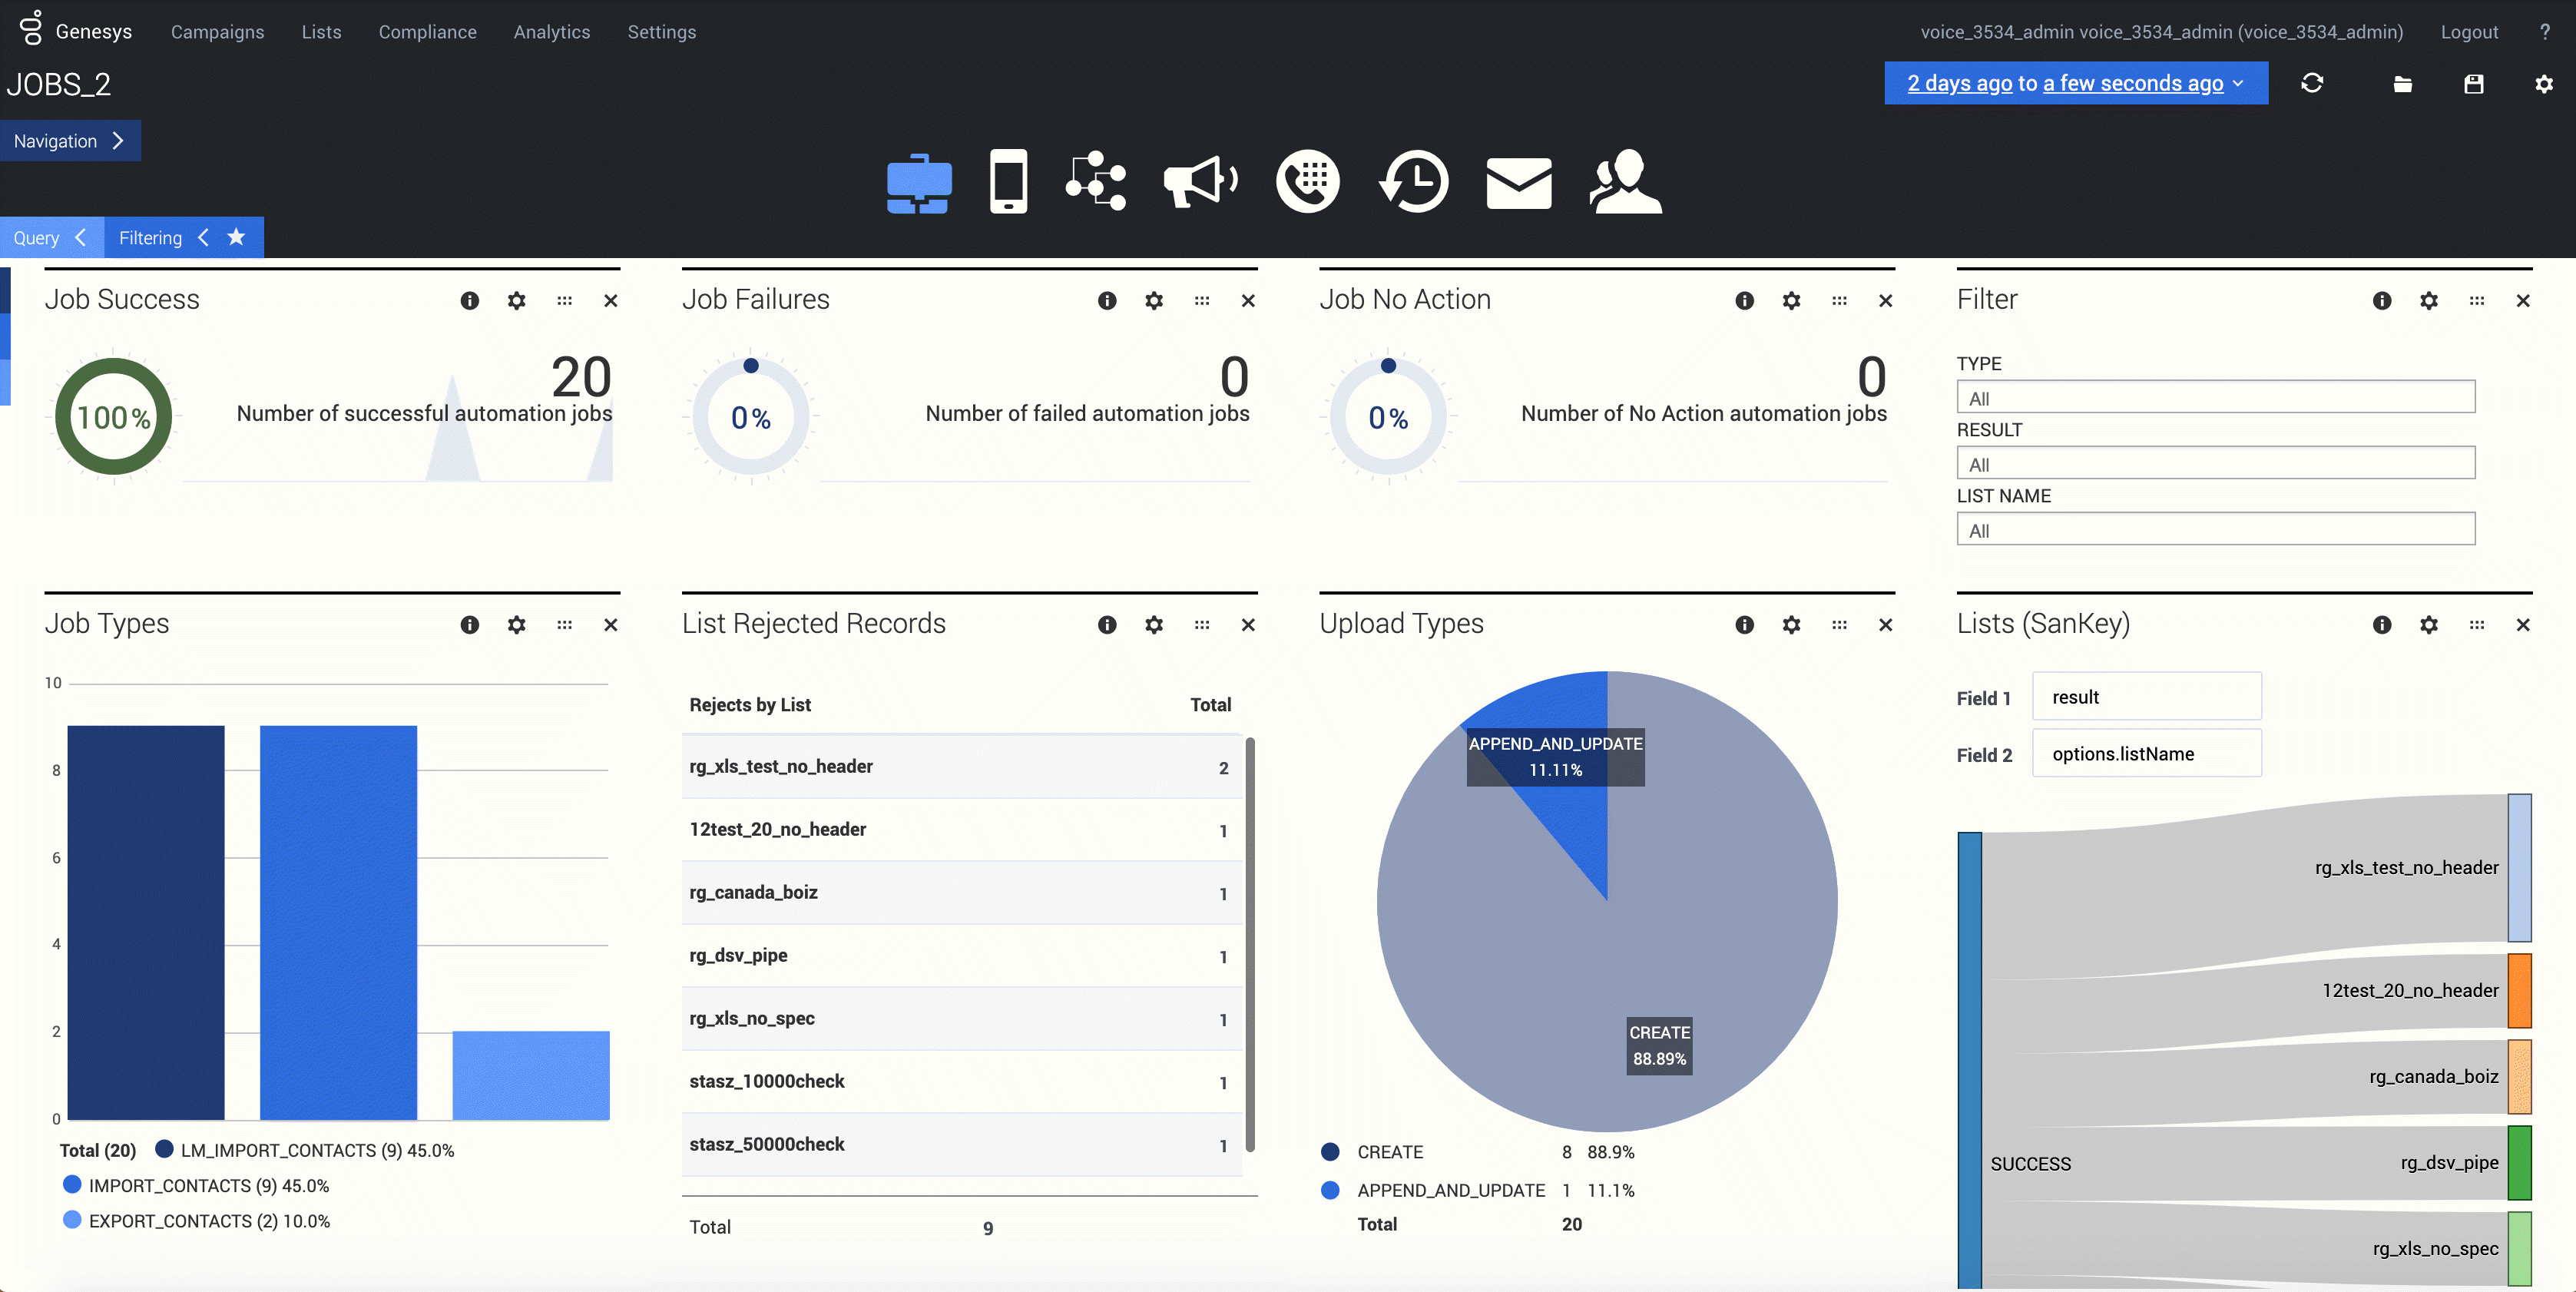
Analytics tab
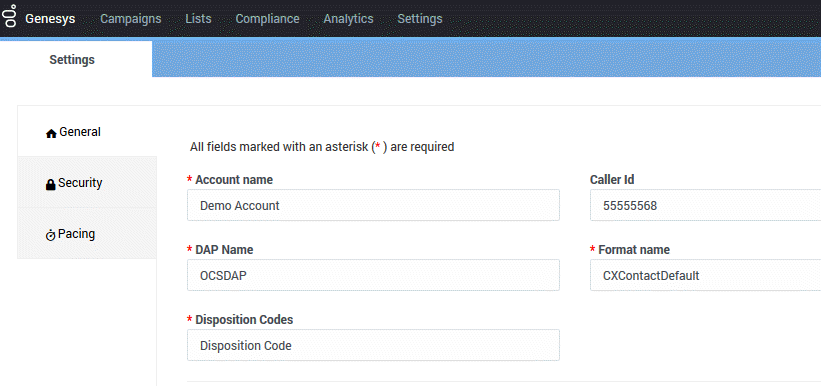
Settings tab
Use the Settings tab to apply or manage the following global application settings:
- General
- Pacing
- Security


