
AD Linux Install - Primary Node
Review this link for details on downloading Workbench AD: Downloading Anomaly Detection (AD).
Please use the following steps to install Workbench AD 9.x.xxx.xx on Linux:
- Create a working directory (i.e. ~/tmp) adding the AD_9.x.xxx.xx_LINUX.tar.gz file
- Run tar zxf AD_9.x.xxx.xx_LINUX.tar.gz to extract the downloaded AD_Installer_Linux.tar.gz compressed file.
- Navigate into the ip\linux folder
- Run tar zxf AD_9.x.xxx.xx_Installer_Linux.tar.gz to extract AD Installer content; the following files should be extracted:
- install.sh
- jdk-11.0.2/
- lib/
- AD_9.x.xxx.xx_Installer.jar
- Run ./install.sh (DO NOT prefix ./install.sh with sudo)
- Genesys Care Workbench Anomaly Detection - Installation
- Press Enter on the Genesys Care Workbench Anomaly Detection 9.x screen to start the AD installation.
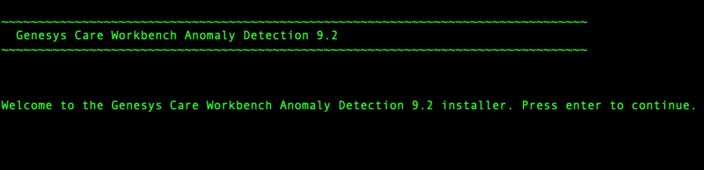
- Press Enter on the Genesys Care Workbench Anomaly Detection 9.x screen to start the AD installation.
- Genesys Workbench license agreement.
- Press Enter to view the Genesys Workbench license agreement
- Review license agreement
- Enter N for the next page, or press anything else to scroll to the end of the Terms and Conditions

- Enter N for the next page, or press anything else to scroll to the end of the Terms and Conditions
- Genesys Workbench Terms and Conditions
- If you agree to the Genesys Workbench Terms and Conditions, press Enter (default=Y) or enter Y to continue.
- Workbench Installation Mode:
- There are 2 Installation Modes:
- New Installation - no Workbench Anomaly Detection components are yet running on this host/node
- Upgrade - you already have Workbench Anomaly Detection running on this host/node and wish to upgrade
- Press Enter for default value (new installation)Warning*AD currently does not support upgrade capability
*Therefore select New Installation and not Upgrade during the AD 9.x.xxx.xx installation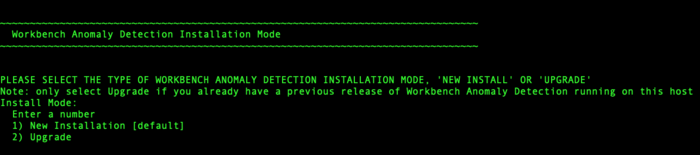
- There are 2 Installation Modes:
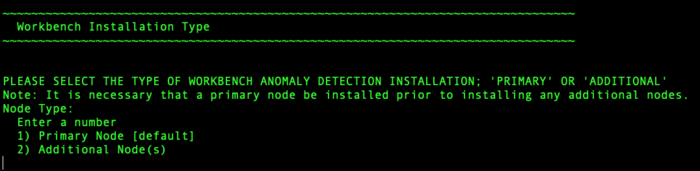
- Workbench AD Installation Type
- There are 2 Installation Types:
- Primary - Anomaly Detection Node
- Additional - Anomaly Detection Node used for distributing load. You already have Workbench Anomaly Detection Primary Node running in other host.
- Press Enter for default value (primary node)
- There are 2 Installation Types:
- DEFAULT or CUSTOM installation
- Install Workbench AD with Default or Custom settings:
- Default - the respective Workbench AD Default settings will be used.
- Default settings being installation paths, ports, etc.
- Custom - or, if required, you can change the default settings by selecting a Custom install.
- Default - the respective Workbench AD Default settings will be used.
- Press Enter for default value (default installation)

- Install Workbench AD with Default or Custom settings:
- Provide the Workbench Primary Zookeeper IP Address and Port.
- If Zookeeper is authenticated, provide username and password.
- Simply press Enter for username/password if ZooKeeper authentication is disabled

- Simply press Enter for username/password if ZooKeeper authentication is disabled
- If Zookeeper is authenticated, provide username and password.
- Provide the Workbench Anomaly Detection installation folder location.

- AD Hostname:
- This Hostname will be utilized by the Workbench solution components.
- Primary components to be installed: Information on which Workbench components are being installed on this host/node
- Anomaly Detection Node
- Workbench Metricbeat
- Workbench Agent

- Select / provide the Service Account details for the Workbench components:
- Workbench components will run using this service account
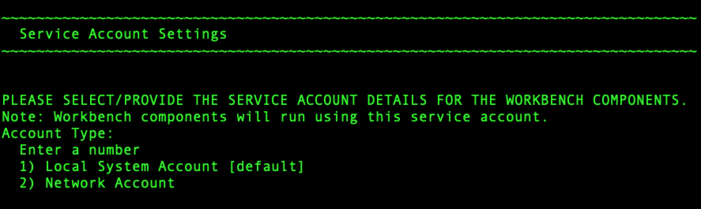
- Workbench components will run using this service account
- The Workbench Anomaly Detection installation will now progress
- The Workbench Anomaly Detection installation is complete


Post Installation Steps
- Validate (i.e. service --status-all | grep WB) if the AD Primary component Services are running:
- WB Anomaly Detection Node: WB_AnomalyDetection_9.x.xxx.xx
- WB Metricbeat: WB_Metricbeat_9.x.xxx.xx
- WB Agent: WB_Agent_9.x.xxx.xx
- Validate if the new AD host appears in Workbench/Configuration/Hosts as is presented in AD Configuration.
- Follow the steps in Post Installation Configuration if needed.
- If you are installing AD at first time, follow the guidelines given in Using AD to learn how to use the Workbench Anomaly Detection Insights features.
Warning
- Post AD installation there is a 3 day training period before Insights are raised; during this time the Insights Console will display "No Insights Found!"
This page was last edited on December 24, 2021, at 18:01.
Comments or questions about this documentation? Contact us for support!