Using the Report Filters Option
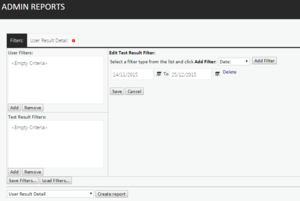
Filters can be created and saved by selecting Add which will then present the Edit User Filters as per the example below.
Use the drop down box to select the filter. In the example below the options are – Hierarchy, User Field & Group.
Once the filter has been selected click on Add Filter.
In the example below the filter added is the User Field, which then reveals the fields available.
Select the additional filter.
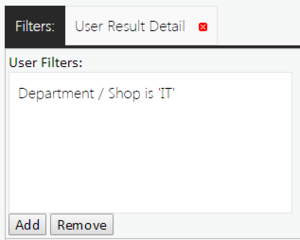
In the example below the field selected is Department and this is set to show results for ‘IT’. ‘IT’ has to be manually entered into the right hand box.
Once the filter has been created, this can be saved to use against any report selected. Click on Save which will then save the filter to be used as and when required in the User Filters box.
Additional Test Result Filters can also be created.
Click on the Add button under the Test Result Filters box.
The available filters are then visible in the drop down box. Once the filter has been selected, click on Add filter.
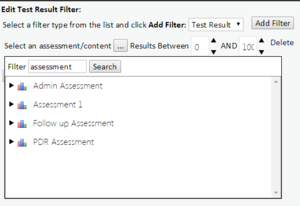
There are two available options in the Edit Test Result Filter:
Test Result filter as per the example below.
There is also the option to save a specific assessment with the filter if this is a report that has to be created on a regular basis.
Click on the … button to open the Assessment Search window.
Once an assessment has been selected, this will save the details together with the results as a filter once Save has been selected.
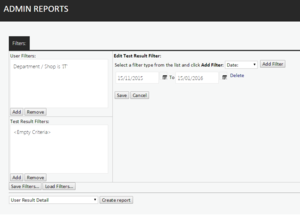
Selecting the Date filter enables you to filter Test results by date range.
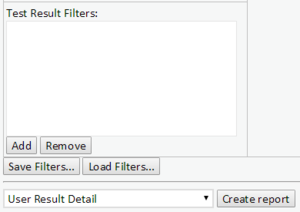
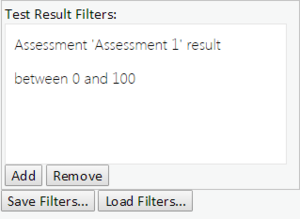
Once the filter has been saved it will appear in the Test Result Filter box.
To save the filter for future use, click on Save Filters... and give the filter a new name.
A Notification screen will appear once the filter has been changed.

