Adding an image to your certificate
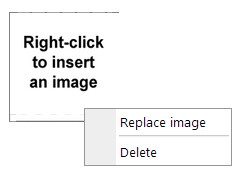
Click the image icon; this is the 2nd icon within the toolbox. Like other content, this will be added to the top left-hand corner of your certificate. Right clicking it will open a menu allowing you to replace the image with one of your own or the ability to delete the image.
Select Replace image.
This will open a dialog box allowing you to locate an image on your computer to be included as part of the certificate.
Once you have selected your image click Save and the certificate will be updated with the chosen image.
As before this will be in the top right hand corner and can be resized and moved into the appropriate position.
As you progress through the design of your certificate it is recommended that you use the Save icon to save any changes you make to your work. Should any items be placed outside the page size defined for your certificate you will be presented with a warning and the offending elements will be moved to within the page.
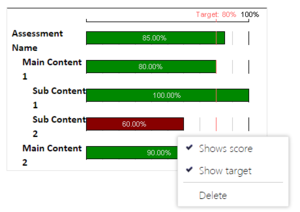
If you wish to add additional details of the user results then the third icon as shown will add a graph to your certificate. As with the previous items this will be added to the top left-hand corner of the certificate and you can drag and resize this into the required position.
This item has a number of different options that you can select from by right-clicking. For instance, you can choose whether you wish the graph to show the achieved scores, including the required pass mark. By default these will be available and simply select them to toggle whether they are visible within the certificate. If you wish to delete a chart then right-click also provides you with the delete option.
Once you are satisfied with your certificate ensure that it is saved and then close down the designer window. By default your certificate is now available to be attached to any existing or new assessments.
To remove a certificate, right-click the certificate name and select deactivate.


