Contents
Create an Email Template
For the latest content and most recent updates, see the CX Contact Help on the Genesys Multicloud site.
If you plan to run a campaign using the email channel, you can build and modify email templates in CX Contact. This page explains how.
To get started, you need to create an Email dialing profile
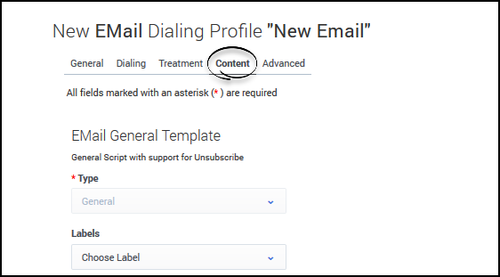
When you set up your email profile, you'll see a tab named Content. This is where you'll create the email content and specify all associated parameters.
To begin, specify the following general information:
- Type - General is the only option. (Future releases will include support for additional types of Email templates).
- Labels - If you plan to personalize messages using fields you defined in a labeling schema, select the labeling schema here. Otherwise, the Pesonalization menu will populate the default CX Contact list fields. See the Personalized Content section below for more information.
- From - Specify the sender's email address.
- Reply to - Specify the email address that accepts responses to the original email.
- Subject - The text that appears in the subject line of the email. This text can be personalized.
- Enable Friendly Options - If you enable friendly options, you can specify easily identifiable names in the To, From, and Reply to fields. The text in these fields can be personalized.
Create Message Content
You have two options for creating email content: use the visual editor to create and format all message content or upload an HTML file containing the message content.
Visual Editor
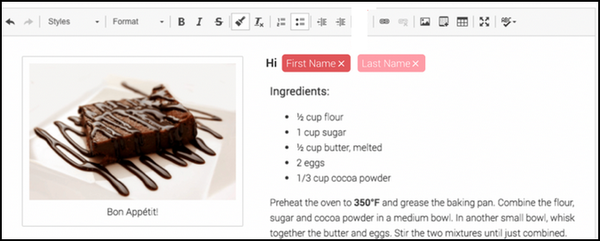
To use the visual editor, set the Use Visual Editor switch to the On position. The visual editor box appears onscreen, enabling you to create and format text and graphics.
HTML File
To upload an HTML file containing the message content, go to Browse for HTML -> Select File. Two new options appear onscreen:
- Preview - Used to view the message content contained in the HTML file.
- Send Test Email - Used to confirm that the email can be successfully delivered and received.
Personalize Message Content
You can personalize message content in the following sections of an email:
- In the subject line
- When using 'friendly' options - the To, From, and Reply to fields
- In the body of an email
The instructions for adding personalized content to a body of a message depend on whether you're using the visual editor to create content or importing an HTML file that contains the content.
Visual Editor
To personalize content when using the visual editor:
- Select the labeling schema from the Labels menu.
- From the Personalization menu, drag the contact list field name tag to the body of the message.
HTML File
Personalizations in imported HTML
To personalize the content in an imported HTML file, use the following format: tag <t> and attribute value. The value must contain the exact name of the value from the list of allowed send attributes.
Examples:
- <p>Lorem <t value="$first_name">First Name</t> ipsum</p>
- <p>Lorem <t value="$first_name"></t> ipsum</p>
- <t value="$first_name"></t>
- <t value="$first_name"/>
Add an Unsubscribe Link
To provide customers with the option to unsubscribe from your mailing list:
- Set the Enable Unsubscribe switch to the On.
- Provide the Unsubscribe Confirmation page URI.
- Once the Enable Unsubscribe switch is set to ON, an additional Unsubscribe page link personalization becomes available in the personalizations list.
- Include the Unsubscribe page link personalization to your email template. For example, "To unsubscribe follow this link: < Unsubscribe Page Link >.


