Personalize Your Workspace
[Modified: 8.5.109.16, 8.5.100.05]
You can change the appearance of the Workspace interface by choosing a predefined appearance from the Change Theme submenu.
This lesson contains the following section:
Changing the Appearance of Workspace
You can change the way that Workspace looks by using a menu selection. Workspace provides the default 8.5 theme, the classic 8.1 Blue theme, and two alternate 8.1 themes: Royale and Fancy.
Lesson: Changing the appearance of the agent interface
Purpose: To alter the appearance of the Workspace interface.
Prerequisites
- You are logged in to Workspace (see Lesson: Logging in to Workspace).
Start
- The flat grey appearance of Workspace is the default color scheme; it is called the Default theme (see the Main Window, displaying the Default theme figure).
To change the color scheme of Workspace, in the Main Window, open the Main Menu (see the Main Window Main menu figure).
- Select a different theme from the Change Theme submenu (see the Main Window Main Menu, displaying Change Theme to Blue option figure).
Workspace provides three additional themes that are based on the 8.1 interface, which are called Blue, Royale, and Fancy.
Important- Your system administrator might have configured additional theme options from which you can choose.
- For visually impaired agents, your administrator can configure the system to make the Workspace High Contrast theme available to you in the Change Theme menu. This theme is designed to meet the Web Content Accessibility Guidelines (WCAG) 2.0, with some limitations. This theme might already be available to you.
- A Workspace message is displayed to inform you that the new theme will be applied the next time that you start the Workspace application (see the Workspace message figure). Click OK to dismiss the message.
- Exit and then restart Workspace.
The Main Window and all the other windows of Workspace are displayed with the new theme (see the Main Window displaying the Blue theme figure).
End
Changing the Zoom of Text Fields
[Added: 8.5.109.16]
Your environment might be set up to allow you to use the Zoom slider control in the Main Menu to set the size of the text in various Workspace windows, including:
- IM (text entry, transcript, and interaction data tooltip)
- Chat (text entry, transcript, and interaction data tooltip)
- Email (text entry and inbound email view)
- SMS (text entry, transcript, and interaction data tooltip)
- Interaction history (IM, Chat, Email, and SMS)
- Standard responses
- Social media (text entry only)
Lesson: Changing the zoom of text fields in the agent interface
Purpose: To alter the appearance of the Workspace interface.
Prerequisites
- You are logged in to Workspace (see Lesson: Logging in to Workspace).
- Your adminstrator has enabled the zoom feature for text fields in your environment.
Start
- Open the Main Menu.
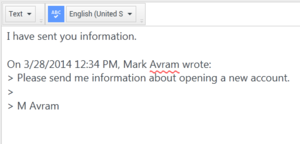
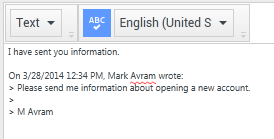
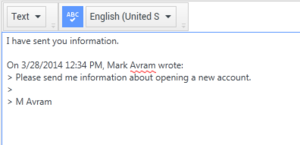
- Choose Zoom to display the Text Zoom slider control.
- Slide the zoom control to the right to increase the size of text in text composition and transcript fields.
- Slide the zoom control to the left to decrease the size of text in text composition and transcript fields.
- Slide the zoom control back to 100% or click the Zoom Percent button to set the zoom level back to normal view.
End


