Account: User Management
Important
The functionality described in this topic is provided for on-premises customers, who install, configure, and maintain their own GPR deployment. If you are accessing GPR in a Cloud instance, you can disregard the User Management functionality.The User Management tab enables users with STAFF or ADMIN privileges to assign users to an account. Users are located by their email address.
Important
Only STAFF users can belong to more than one account.To open the configuration menu, click the Settings gear icon, located on the right side of the top menu bar: ![]() .
.
Creating or updating users
To manage users for an account:
- Click the Account > User Management tab on the left-hand navigation bar.
- Select an account from the Current Account drop-down menu.
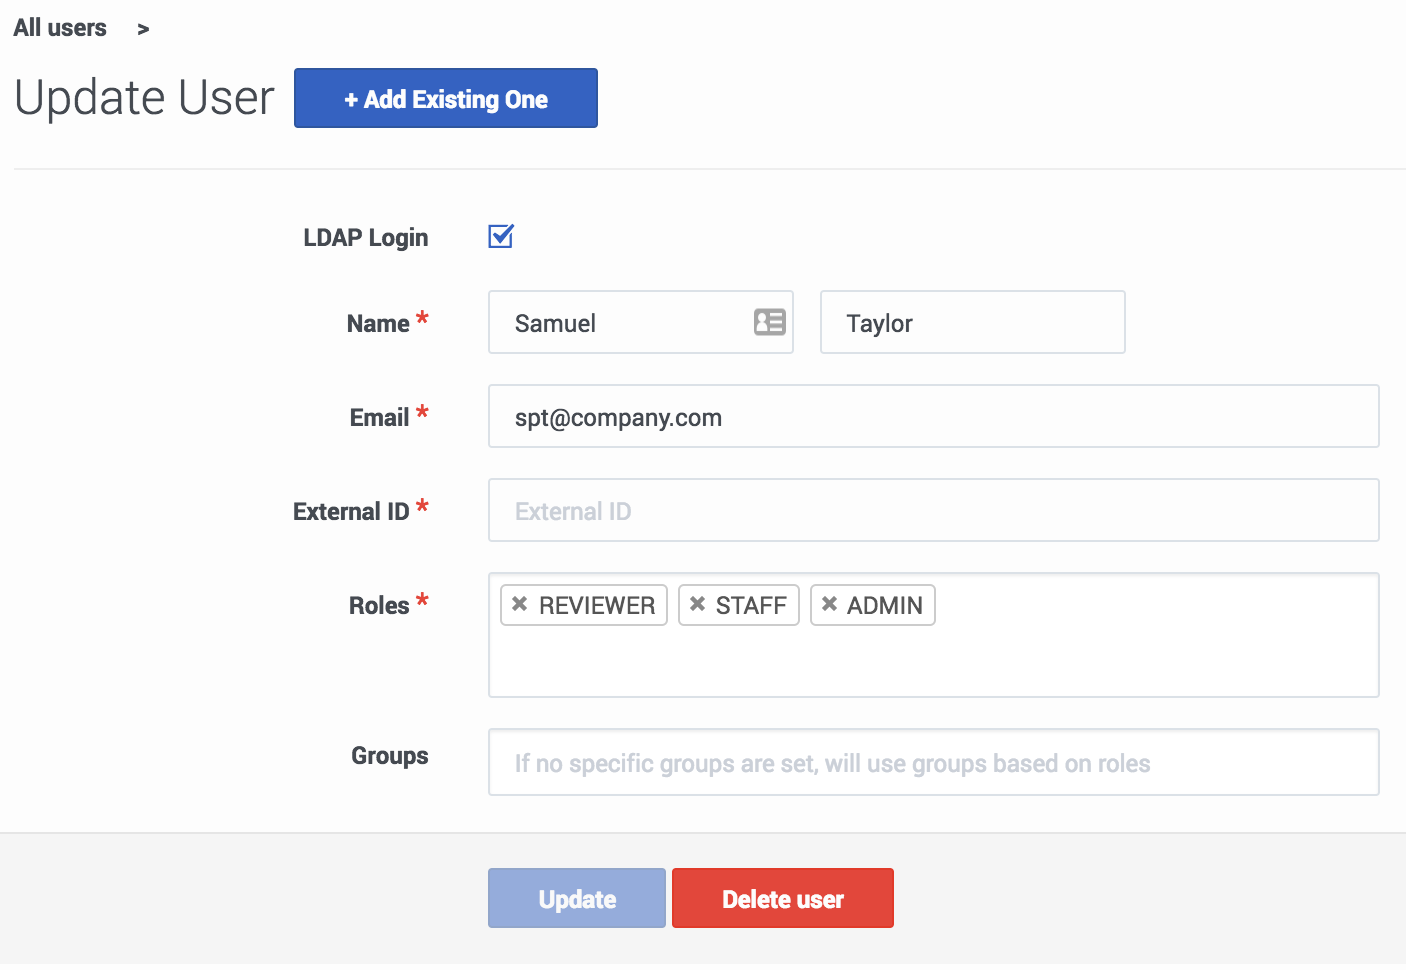
- Click New User to add someone or click an existing user's email address to update their information.
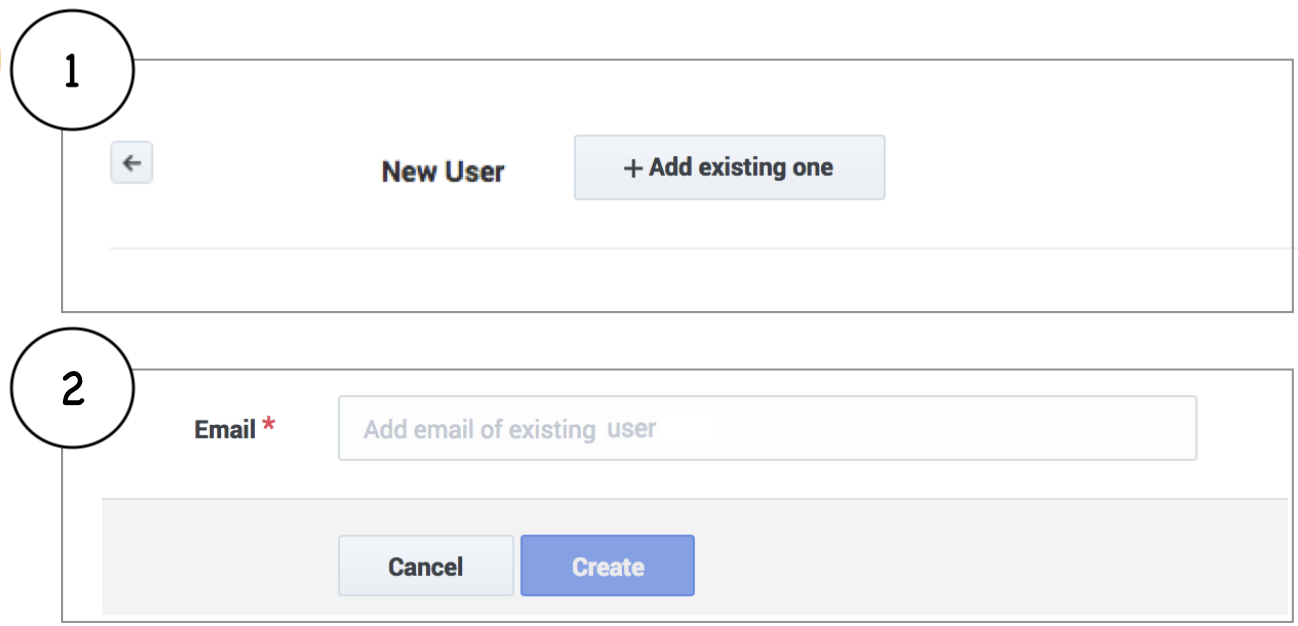
- When adding a user, either set up an entirely new user or click Add existing one to locate an already-configured Staff user by their email address. Only Staff users can belong to more than one account and might already have an email address in the system.
- If the account to which you are adding a user has LDAP enabled, select the LDAP Login check box to use LDAP authentication. If you do not select this check box, Genesys Predictive Routing (GPR) uses the stored password for authentication. This check box appears only when the active account has LDAP enabled.
- TipYou cannot use both LDAP authentication and a standard GPR user name/password combination. Only a user with the STAFF role can change a user from one form of authentication to the other.
- Enter the user name, email, and External ID (for LDAP accounts only), and select the appropriate roles.
- The External ID is one of the following:
- The user name, if you are using a standard user name-password login.
- For LDAP authentication, the user CN (common name), which is set as the User DN pattern in the account settings.
- If you set up a standard user name/password login, GPR sends an email enabling that new account member to change their password.
- To add a role, click in the Role text box and select the desired role or roles. If you have already assigned one or more roles, click below the assigned roles to add more. Clicking to the right of an assigned role does not enable the selectable list of roles.
- The External ID is one of the following:
- Click Create to finish setting up the user.
Existing users appear in the Users table. To update an existing user:
- Click the email address.
Moving a user between accounts
A user with the STAFF role can move a user to a different account, or else delete the first account and add the user to a different one.
Important
Users (with the exception of STAFF) cannot be associated with more than one account.To delete an account:
- Click the Account > User Management tab on the left-hand navigation bar.
- Select an account from the Current Account drop-down menu.
- Click the trash can icon in the User Management table row for the user you want to remove.
To move a user, follow the procedure below:
- Click the Account > User Management tab on the left-hand navigation bar.
- Select an account from the Current Account drop-down menu.
- Click New User.
- When the New User dialog box opens, click Add existing one.
- Enter the email address of the user you want to move to the current account.
- Click Update to confirm the change. The user is moved to the new account.
Important
After moving to a different account, the user's previous API key is invalidated. The user must get the API key for the account user now belongs to. This page was last edited on April 3, 2019, at 16:59.
Comments or questions about this documentation? Contact us for support!


