
Contents
Managing Knowledge Bases
Overview
The administration area allows you to set up knowledge bases according to your company needs. To open the administrator area click the gear icon in the main menu and then select Knowledge Bases from the drop down menu.

Creating a New Knowledge Base
To create a knowledge base in the administration area:
- press the Create button:

- A new knowledge base form is opened. Fill in the mandatory fields:
- enter Name
- enter Display Name
- select at least one document type in Document types
- select at least one language in Languages
- select the Default language
- Select the Approval Flow Type (from version 9.0.003).
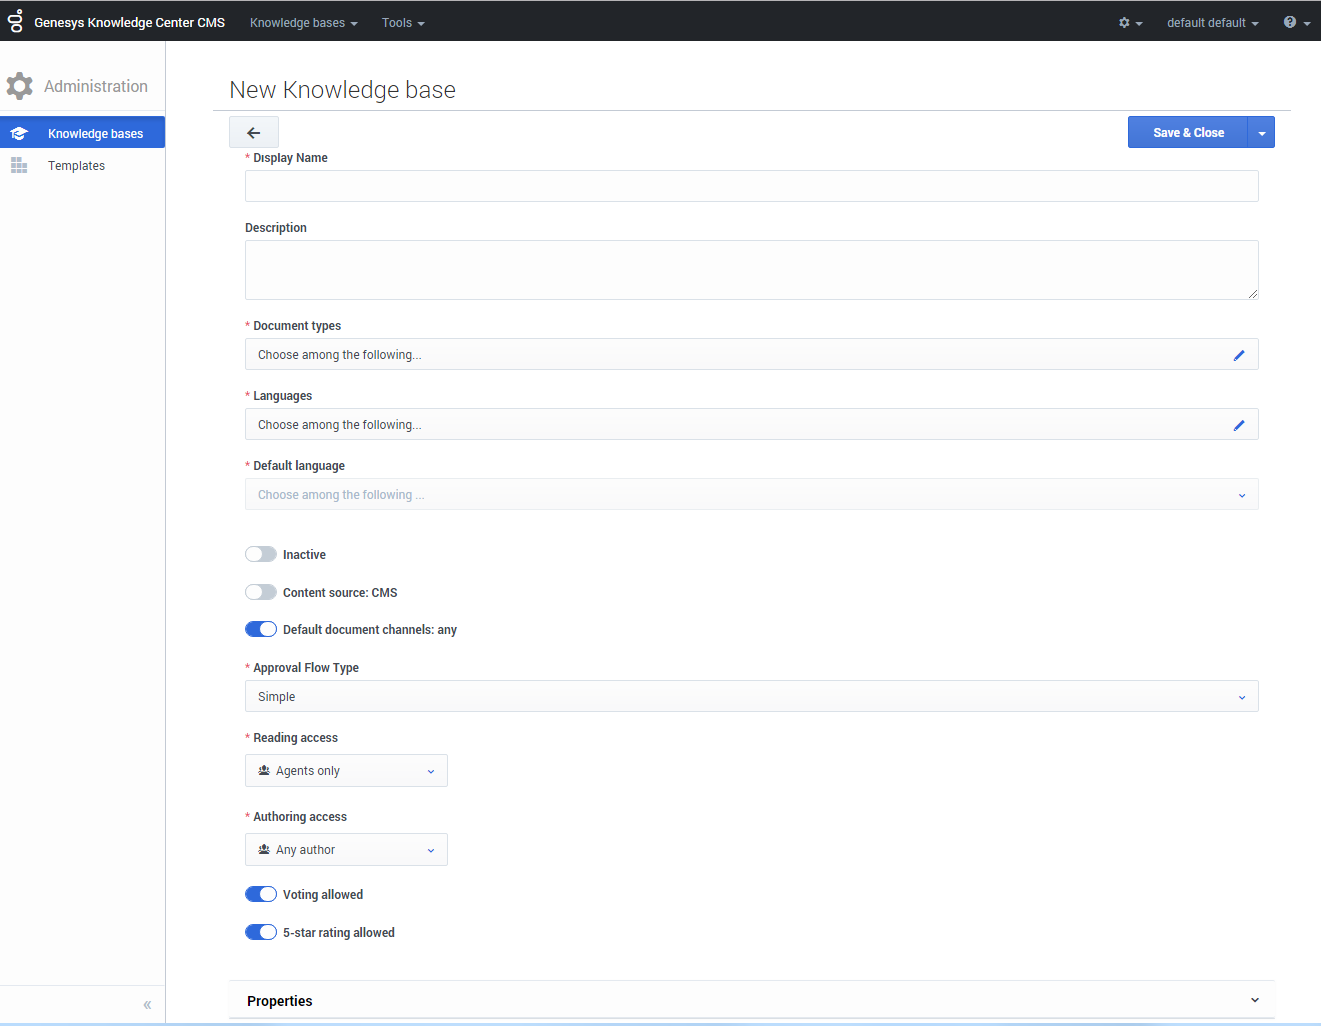
- Click Save & Close.


- Name - defines unique name of the knowledge base
- Document types - type of the documents that can be created in the knowledge base
- Default language - language that documents need to be created first in
- Content source - defines whether the content of the CMS will be created in Genesys Knowledge Center CMS (value: CMS) or in third-party CMS system (value: Third-party)
- Approval Flow Type - defines approval flow type in the knowledge base
Using External Content
Knowledge Center allows you to source content from an external system and still be exposed in the same way to the company's agents and customers.
|
|
Content source: CMS (default) - Content will be authored in Knowledge Center CMS |
|
|
Content source: Third-party - Content will be sourced from external CMS system |
Defining Access Permissions
The following properties allow you to define the proper access to your knowledge base:
Active/Inactive
 |
Inactive (default) - If you select the inactive status for your Knowledge Base neither your customers nor your agents will be able to search for information in that knowledge base. Knowledge authors and knowledge administrators can still use the base to prepare content stored in it. Inactive status is recommended when your knowledge base is not ready for prime time |
|
|
Active - allows knowledge base to be available for search by agent and customer (according to set permissions) |
Access For Reading
Reading access allows to define knowledge base visibility for customer and agents:
| Reading access - defines the Knowledge base visibility for reading (default reading access is "Public"). You can specify whether the Knowledge base should be available to:
| |
| When Skilled agent is selected as the Reading access value, the skill selection is shown. It allows you to define the list of skills for restriction. In a case where you have specified several skills for the reading access, the agent needs to have at least one of them to access the knowledge base. Skill level does not influence the ability to access the knowledge base. To add a skill:
Hint: you can select it from the drop-down list provided.
|


Access For Authoring
Authoring access - defines the Knowledge base visibility for authoring (default reading access is "Agents only"). You can specify whether the Knowledge base should be available for authoring to:
| |
|
|
When Skilled author is selected as the Authoring access value, the skill selection is shown. It allows you to define the list of skills for restriction. In the case where you have specified several skills for the authoring access, the agent needs to have at least one of them to access the knowledge base. Skill level does not influence the ability to access the knowledge base. To add a skill:
Hint: you can select it from the drop-down list provided
|


Behavior Options
To edit the behavior options you need to expand Properties at the bottom of the knowledge base form:

An option can be edited by clicking on the value. While editing, a hint is shown describing the option and valid values:

Importing Knowledge Base Configuration
Cloning the Knowledge Base Configuration
To re-use the configuration of an existing knowledge base to create a new one you must:
- Open the list of knowledge bases.
- Open the knowledge base you wish to clone.
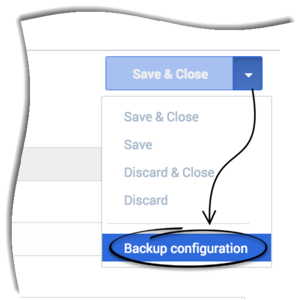
- Click the drop-down menu next to the Save & Close button.
- Select the Backup configuration menu:
- The browser downloads a text file with the knowledge base configuration (name: knowledgenbaseId + ".scheme").
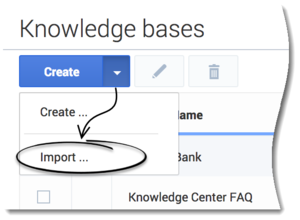
- Go back to the Knowledge Bases page.
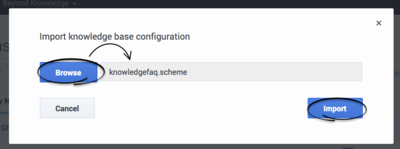
- In the Create drop-down menu select the Import ... option:
- Select Browse, choose the recently downloaded file in the opened dialog window and then, click Import:
- For CMS 8.5.304 and later: The new Knowledge Base form is opened and pre-filled with the values from the loaded knowledge base configuration.
ImportantYou must change the knowledge base ID. You cannot have more than one knowledge base with the same ID.
Note: In CMS versions earlier than 8.5.304 , you were required to modify the knowledge base ID and properties in the exported file before importing it to the system.


Importing Knowledge Base Content
You can import your own data (documents+categories) to the knowledge base.
- Click Knowledge bases from the toolbar at the top
- Choose your knowledge base from list
- Click the Documents tab
- Click the arrow next to the Create button
- Click Import...
- Choose the XML-based file with your data
- Choose the language
- Click Import

Supported data format
The Import tool supports xml-files with the following structure:
<?xml version="1.0" encoding="UTF-8" standalone="yes"?>
<knowledge lang="en" kbId="knowledgefaq" version="9.0.000">
    <categories>
        <category>
            <id>cat1</id>
            <categoryParentId></categoryParentId>
            <name>Root</name>
            <description></description>
            <status>APPROVED</status>
        </category>
        <category>
            <id>cat2</id>
            <categoryParentId>cat1</categoryParentId>
            <name>Cat ER 89313</name>
            <description></description>
            <status>APPROVED</status>
        </category>
    </categories>
    <documents>
        <document>
            <id>doc1</id>
           <templateId>basearticle</templateId>
            <status>APPROVED</status>
            <media/>
            <tags/>
            <alternatives/>
            <categories>
                <category>
                    <id>cat</id>
                </category>
            </categories>
            <customFields/>
            <title>
                <id>title</id>
                <value>Sample Article</value>
            </title>
            <content>
               <docField>
                   <id>description</id>
                    <value>Sample body.</value>
                </docField>
            </content>
            <additional>
                <docField>
                    <id>summary</id>
                    <value></value>
                </docField>
            </additional>
        </document>
    </documents>
</knowledge>
Fields descriptions
- templateId - id of basic or custom template. Predefined templates are:
- basefaq
- baseartcile
- title - named field(s) for document title part:
- For FAQ it is 'question'
- For 'Article' it is 'title'
- content - named field(s) for document content part:
- For FAQ it is 'answer'
- For 'Article' it is 'description'
- additional - named additional field(s):
- No additional fields for 'FAQ'
- For 'Article' it is 'summary'
Purge Knowledge Bases
Using a Purge operation Genesys Knowledge Center enables you to remove broken or outdated content stored in Elasticsearch. Removing broken or outdated content from Elasticsearch will not delete data or the knowledge base.
The Purge operation only deletes an Elasticsearch index associated with a deleted Knowledge Base (that is, if they were no deleted automatically) and removes categories that are not related to existing documents.

To purge a Knowledge Base
- Open the Knowledge Base list.
- Select the Knowledge Base you want to purge.
- In the top-right corner of the screen open the Purge all list.
- Select Purge selected.