Overview of the CMS User Interface
This chapter describes general principles of the CMS UI organization as well as such general functions as login/logout, getting help, navigating between different views, and so on.
Login into the CMS
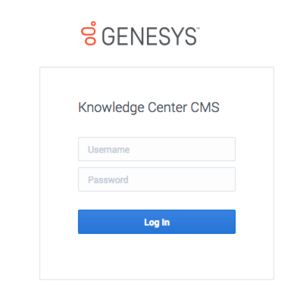
When you enter the CMS URL in your browser, the first page you will see is the login screen:
Enter your login and password in the dedicated boxes and hit the Log In button.
Note: To login to the CMS you need to have at least one of the knowledge privileges assigned (author, approver and/or administrator).
Inside the CMS
Dashboard
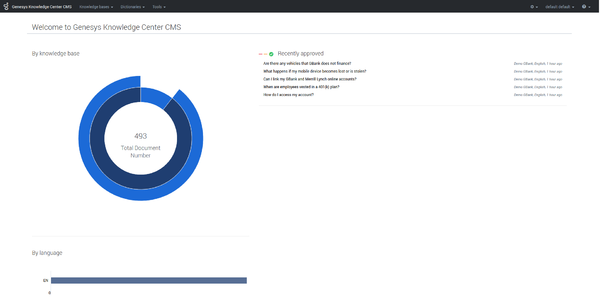
Once you've logged in to the CMS the Knowledge Dashboard displays the summary of the knowledge authored in the CMS.
Page Elements
Let's review some of the major navigation elements available on the page.
The top-most line is the main menu line providing you access to the functional areas of the product:
This main menu includes the following elements:
| Product name: clicking this area will always bring you back to the Knowledge Dashboard. | |
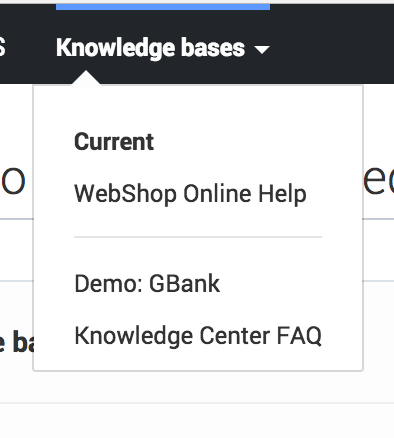
| Knowledge base menu: brings you to the authoring area within one of the knowledge bases. This is the area that is used by the knowledge workers (authors) and knowledge managers (approvers). Clicking this area will open a drop down list displaying the current knowledge base (just below "Current" label) as well as the list of all available knowledge bases (below the separation line). Clicking on one of the listed knowledge bases will bring you to the document authoring view for that knowledge base. | |
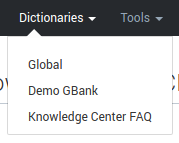
| Dictionaries menu: Provides a shortcut to access dictionaries. You need Administrator privileges to be able to access this area. There is a Global dictionary that affects all knowledge bases and one per knowledge base. Dictionaries are automatically created and cannot be deleted. Clicking on an existing dictionary in the drop-down menu will open that specific dictionary management view. | |
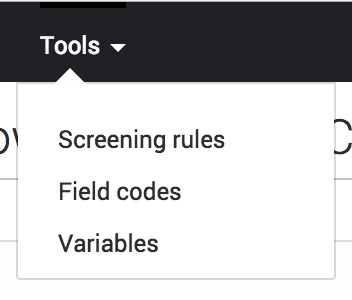
| Tools menu: allows you to manage Variables. You need Administrator privileges to be able to access this area. Clicking on this area will open a drop-down menu with the different objects to edit. Select one from the list and the authoring area of the selected object opens. | |
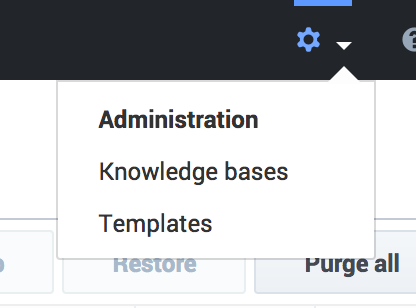
| Administration menu: opens the administrator area where knowledge administrators can create new knowledge bases, document templates, modify properties of existing ones, and do other administrative actions. Click the gear icon and then select Knowledge Bases or Templates from drop down menu. | |
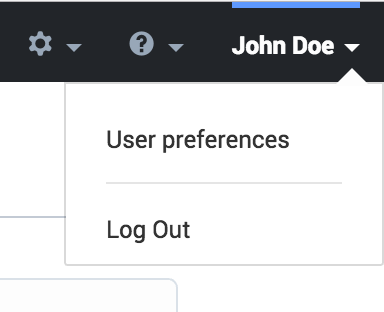
| Personal menu: the last element in the main menu indicates the name of the user who is currently logged in, and also allows that user to change user preferences and logout from the system. | |
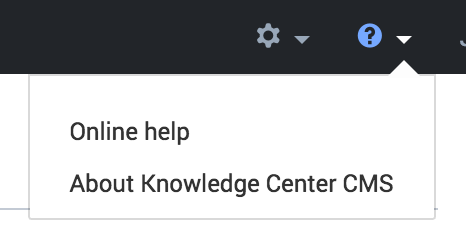
| Help menu: provides easy access to the contextual and online help documentation of the Knowledge Center CMS as well as the "About" window.
|
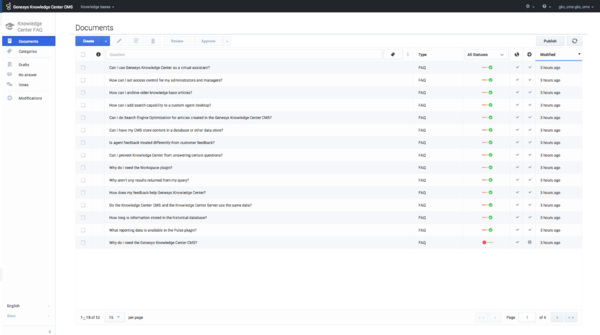
Clicking on the elements of the Knowledge base menu or Administration menu will lead you to the working area of the product (for example, document authoring):
On the left side, there is a sidebar menu that helps you navigate within the authoring area. While an in-depth review of each element is covered in the authoring manual, let's go though the general principles:
The top line of the sidebar is dedicated to the visual indication of the area that you are in:
- If you see a graduation hat icon and the knowledge base name, you are in the authoring area
- If you see the gears icon, you are in the administration area
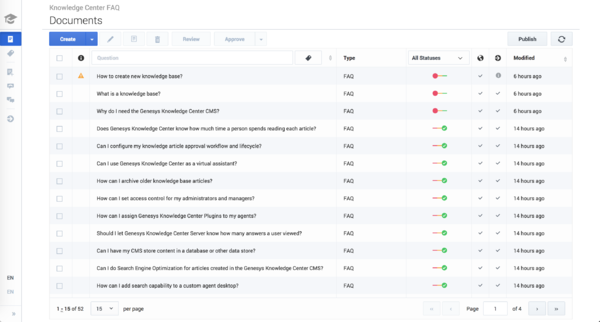
At the very bottom of the sidebar, there is an element that allows you to expand or collapse the sidebar. Collapsing the sidebar leaves more space for the main area:
The main area is the one where all the work happens. There are two main types of the main area views:
- Table view (as shown above) - displays multiple elements (documents, categories, knowledge bases, and so on) with some summary information.
- Element view - displays a particular element.
Within table view you have:
- The knowledge base name (if the sidebar is collapsed)
- Sub-area name (for example, Documents, Categories, Knowledge Bases)
- Toolbar with action buttons
- Table view itself
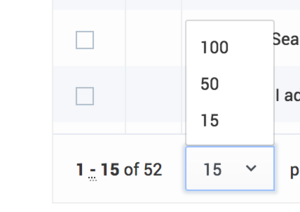
- Table view navigation:
- Number of elements per table page:
- Navigation between pages:

