Genesyslab Sample
| Purpose: To run and customize the Genesyslab Web Engagement Sample. |
Contents
Description
The Genesyslab Engagement Sample provides scripts to build a Genesys Web Engagement application and test category-based capabilities through a specific proxy. Scripts create a custom application, including all the mandatory materials, such as the rules templates, the SCXML, the DSL scripts, and the Genesys Web Engagement servers, usable in a pre-packaged virtual environment. In a few clicks, without modifying your website, Genesys Web Engagement features will show up on a set of web pages, according to the rules and categories that you created.
For further information on the product's architecture, read Architecture.
The Genesyslab Sample is provided as a zip file containing the following directory structure:
apps—Contains the applications created with the .bat scripts.plug-ins—Contains the Interaction Workspace and Genesys Administrator eXtension plugins.servers—Contains the Genesys Web Engagement Servers.templates—Contains templates for the Genesys Web Engagement Servers.tools—Contains additional tools, including provisioning for the Genesys solution.rules—Contains the rules for Genesys Rules Authoring Tool.
Get Started with the Genesyslab Example
The Genesyslab sample is a sub-directory in the apps folder, already configured. To play with this sample, you need to accomplish the Genesys Web Engagement Application Development Workflow, step-by-step, as detailed in Application Development:
- In the \apps\genesyslab\proxy directory, update the map.properties file:
- Set the frontend.server.host parameter to the FQDN or IP address of the host where GWMProxy will be run.
- Build and deploy the application.
- Start your Genesys Web Engagement servers.
- Test with GWMProxy: You must use the proxy to add your sample code to Genesyslab.com webpages.
You do not need to complete the following tasks in the Application Development Workflow:
- You do not need to create categories; provisioning automatically creates them.
- You do not need to create additional business events; they are already created.
- You do not need to Publish the CEP Rules Template to use this sample. After you build and deploy the application, the rules.drl file, which is created by default for the Genesyslab sample in \apps\genesyslab\storage, is copied to the Frontend Server.
Test Genesyslab Scenarios
To test the scenarios, you need to follow the steps detailed in the \apps\genesyslab\readme.html or \apps\genesyslab\readme.doc files.
A pop-up window starts the engagement process. You can:
- Reject the engagement.
- Accept the voice callback or the chat conversation (if you modified the servers' options).
Then, by default, a registration form is displayed first to identify the customer. By default, Genesys Web Engagement is configured for the progressive pacing algorithm. To turn off the pacing algorithm and specify a particular engagement channel, you can use the wmsg.connector.defaultEngagementChannel option in the Web Engagement Backend Server application. You can modify this option in Genesys Administrator:
- Open Genesys Administrator. Navigate to PROVISIONING > Environment > Applications. Double-click on your server's application name.
- Edit the wmsg.connector.defaultEngagementChannel option in the Options > service:wmsg section. Valid values are proactiveChat or proactiveCallback. If no value is specified (default), the pacing algorithm will be used.
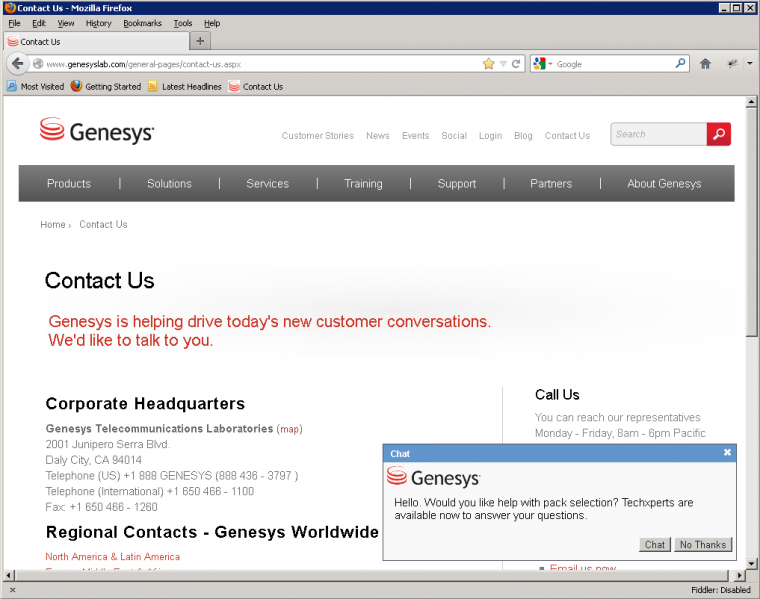
The following screenshot shows a proactive offer for chat, based on the "Singleton with Timeout" scenario.


