
Create Categories
| Purpose: To create Categories with Genesys Administrator Extension. Each category contains business information based on URL and webpage titles, used in conditions to generate actionable events. For further information, read Simple Engagement. |
Creating a Category
![]() Purpose: To create categories to implement the simple engagement model on your website.
Purpose: To create categories to implement the simple engagement model on your website.
Prerequisites
- Genesys Administrator Extension, 8.1.301.02 or later, is installed;
- Web Engagement Plug-in for Genesys Administrator is installed.
Start
- Open Genesys Administrator Extension and login.
- Navigate to
CONFIGURATION > Categories. The Categories interface opens. - Select the application's tenant.
- Click on the
Switch Tenantbutton: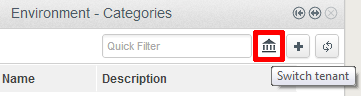 Click the Switch tenant.
The Switch tenant dialog box opens. - In the drop-down list, select the Tenant where you deployed Genesys Web Engagement.
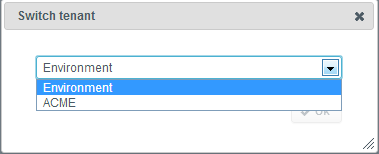 Select the application's tenant.
 - Click
OK.
- Click on the
- In the
Categoriesmenubar, click+to add a new category. TheNewpanel appears. - Enter a Category name—for example,
Products; - (Optional) Enter a description;
- Enable the
Show category in Interaction Workspaceoption to display this category in the Interaction Workspace, if an agent opens interactions related to this category. - Click Save. The category appears in the
Categoriespanel.


End
Create Category Matching Tags
![]() Purpose: To add the business information which should raise events for a category. Each matching tag contains an expression to search in URLs and titles submitted with the events of the browser. For instance, a tag to identify the http://www.genesyslab.com/products/genesys-inbound-voice/overview.aspx page could be the plain expression '
Purpose: To add the business information which should raise events for a category. Each matching tag contains an expression to search in URLs and titles submitted with the events of the browser. For instance, a tag to identify the http://www.genesyslab.com/products/genesys-inbound-voice/overview.aspx page could be the plain expression 'genesys-inbound-voice' or the regular expression 'Inbound Voice'.
Start
- In the
Categoriespanel, select your category. The<category name>panel opens. The selected category is opened and ready for customization.
 - In
Language-specific Display names, click +. TheName detailspanel opens.- Enter a Name—for example, Products.
- Select a Language—for example, en-US.
- Click
Save. Interaction Workspace and other Genesys Tools will displayProductsfor english users. - Define additional
Display Namesif needed, then close the panel.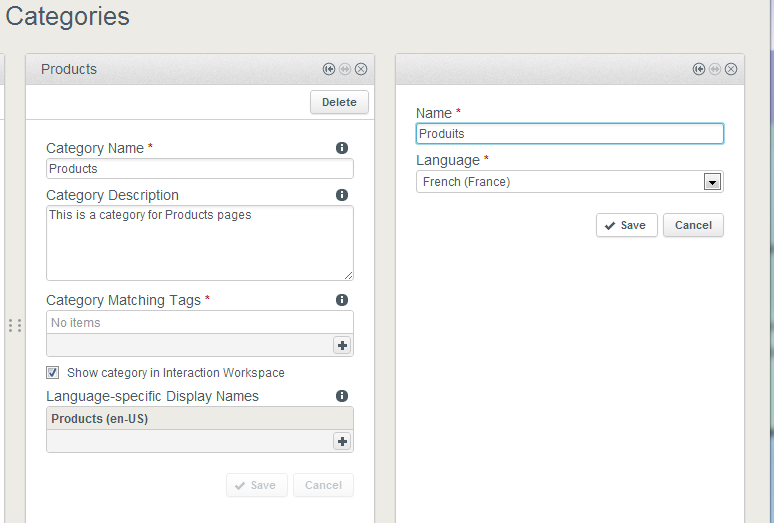 Adding French Display name.
- In the
Category Matching Tagssection, click +. TheTags detailspanel opens. - Fill in the form to create a tag. For example, let's create a tag which refers to a specific product, such as Genesys Inbound Voice:
- Enter a name—for example, Inbound Voice;
- Select a type—for example,
Plain Text; - Enter an expression according to the selected type; for a plain expression example, genesys-inbound-voice; for e regular expression example,
Inbound*Voice - Optionally, enable
case-sensitiveto enable a case-sensitive search. - Select a locale language—for example, English (United States).
 Create as many tags as needed.
 - Click Save. The new tag is added to the Category Matching Tags list.


End For further details about this tool, see also:
- You can use regular expressions to create tags.
- You can create as many tags as you need to complete your category. Note that all events raised for the given tags will be associated with this specific category.
- You can create as many categories as needed.
Next steps
This page was last edited on March 5, 2014, at 15:32.
Comments or questions about this documentation? Contact us for support!