
Configuring Genesys Rules System
Complete the procedures in the tabs below to tune Genesys Rules System to work with Web Engagement.
Configuring Genesys Rules Development Tool
Prerequisites
- Your environment includes Genesys Rules Development Tool (GRDT), deployed as a Composer plug-in. See Genesys environment prerequisites for compliant versions. For more information about installing GRDT, refer to Installing the GRDT Component in the the Genesys Rules System Deployment Guide.
- You enabled the Galileo update site in GRDT, as described in Installing the GRDT Component.
Start
- Open Genesys Rules Development Tool by starting Composer.
- Navigate to Window > Preferences. The Preferences window opens.
- Navigate to Genesys Rules System > Configuration Server. Edit the settings.
- Enter the Configuration Server host name. For instance, localhost.
- Enter the Configuration Server port. For instance, 2020.
- Enter the application name for the Rules Authoring Client application. For instance, RulesAuthoringClient.
- In the Authentication section, enter the name and password for a user who can connect to Configuration Server and click Apply.
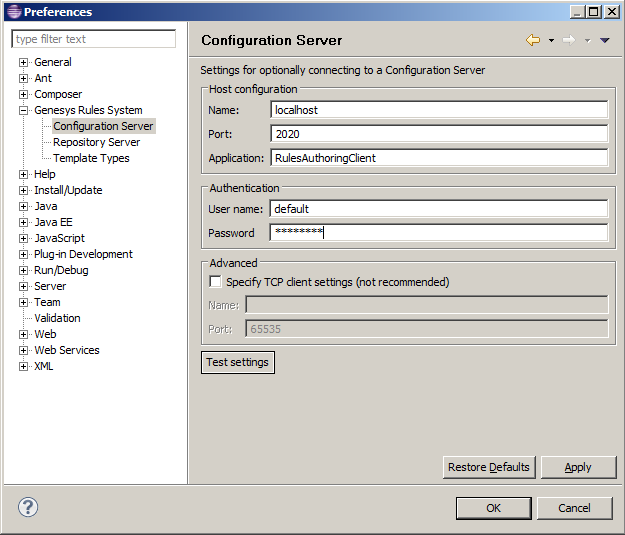 GRDT settings for Configuration Server.
- Navigate to Genesys Rules System > Repository Server. Edit the settings.
- Enter the Repository Server host name. This is the name of the host specified for the GRS application (application with type Business Rules Execution Server) in Genesys CME. For instance, localhost.
- Enter the Repository Server port. This is the port with the ID genesys-rules-engine that is specified for the GRS application (with type Business Rules Execution Server) in Genesys CME. For instance, 8020.
- Enter the Servlet path as genesys-rules-authoring.
- In the Authentication section, enter a name and password for a user who:
- Has Read and Execute permissions for the Genesys Rules Authoring client application (set up in Configuration Server); this user must have explicit Read and Execute permissions or must belong to an access group with those permissions.
- Belongs to a Role with the following privileges: Template - Create, Template - Modify, Template - Delete.
- Click Apply.
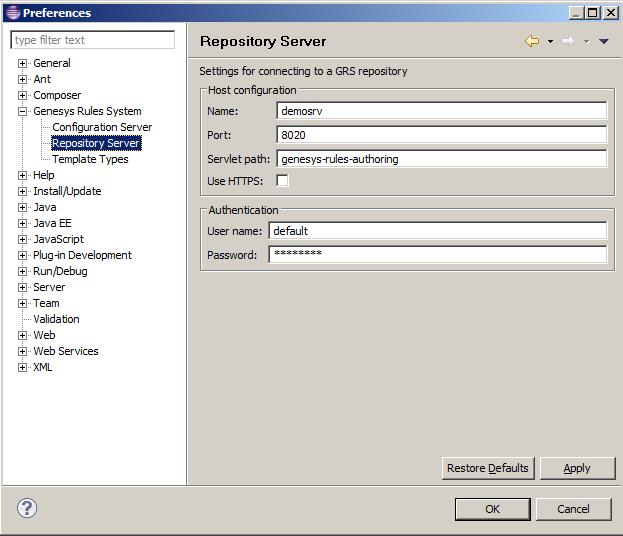 GRDT settings for the Repository Server.
 - Navigate to Genesys Rules System > Template Types. If it is not present, add the web_engagement template type and set Event Support to true. Click Apply.
 Template types in Composer
 - Click OK.


End
Configuring Genesys Rules Authoring Tool
Prerequisites
- Your environment includes Genesys Rules Authoring Tool (GRAT). See Genesys environment prerequisites for compliant versions. For more information about installing GRAT, refer to the Genesys Rules System Deployment Guide.
Start
- In Genesys Administrator, navigate to Provisioning > Environment > Applications, select the GRAT application (the application with type Business Rules Application Server), and click Edit.
- In the Connections section, click Add....
Select the Genesys Web Engagement Backend Server and click OK.
Important: Starting with versions 8.5.100.23 and 8.5.200.06, the Genesys Rules Authoring Tool (GRAT) no longer recognizes connections with Genesys Generic Server objects. Because of this, you can no longer deploy rules using Web Engagement Servers that are represented by Genesys Generic Server application objects.
- Select the Backend Server in the list of connections and click Edit.
- In the Connection Info window, select backend/data/rules/deploy for the ID field. Click OK.
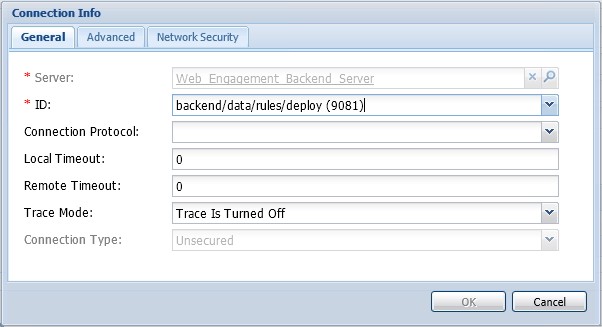 ID is set to the backend/data/rules/deploy port.
 - Select the Options tab.
- In the [settings] section, set verify-deploy-address to false. You must set this option because in Genesys Web Engagement, rule packages are deployed to the Backend Server, not to Genesys Rules Engine. When set to false, this option prevents GRS from trying to verify that the server deploying the rules is Genesys Rules Engine.
 verify-deploy-address is set to false.
 - In the Security tab, set a user who has Read, Create, Change rights for the Scripts folder in Log On As. This user should also have: Read access to all tenants which are supposed to be used; Role with sufficient permissions (as detailed in Genesys Rules System Deployment Guide); Read access to Business Structure folder and associated nodes that are supposed to be used; Read access to Scripts folder and Scripts objects (which are representations of the rule templates).
- Click Save & Close.


End
(Optional) Configuring Roles Settings for Rules Management
You should complete this procedure if you need to import permissions to enable a user to create rules for Genesys Web Engagement. Once roles are imported, you can assigned them to the user who publishes the rule templates and creates rules for GWE.
You should not complete this procedure if you have already created a user who has permissions to create rules packages in Genesys Rules Authoring (as described in the "Role-based Access Control" chapter of the Genesys Rules System Deployment Guide).
Start
- In Genesys Administrator, navigate to Provisioning > Accounts > Roles and click New....
- Enter a name for the new role. For example, GWE_Rules_Administrator.
- In the Memebers section, you can specify who should have this role. Click Add to add as many access groups or users as you need.
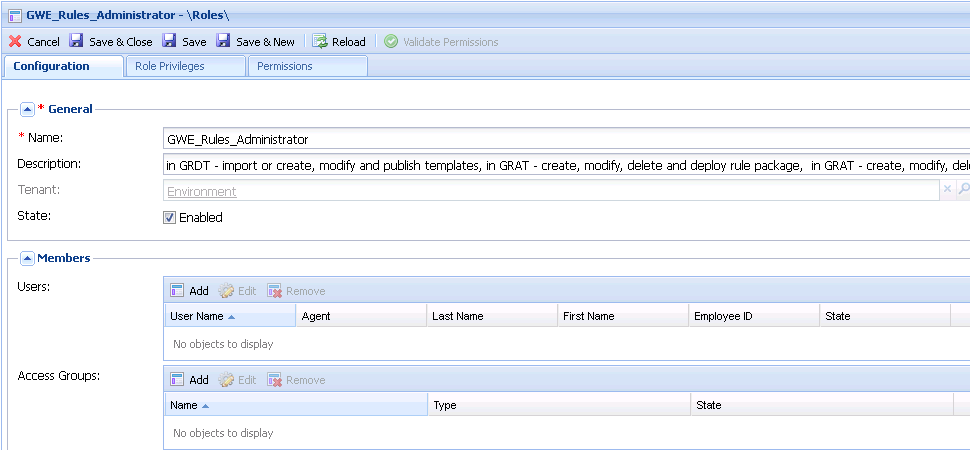 New Role
 - Select the Role Privileges tab and select Genesys Rules Authoring Tool. The privileges for GRAT are added to the GWE_Rules_Administrator role.
 Imported Role Privileges
 - Click Save & Close.


End
Members of the GWE_Rules_Administrator role can now do the following:
- Create, modify, and delete rules
- Create, modify, delete, and deploy rule packages
- Create, modify, and publish CEP rule templates
Next Steps
- Configure the Generic Cassandra Settings for your Backend Server host.