
Contents
Using CMS with Cassandra
Important
To ensure strong consistency of the data (no matter the configuration of the underlying storage) it was decided to deprecate Cassandra 2.2.x support in 8.5.3 release of the product. Going forward, support of Cassandra will be discontinued in 9.0 release of the product.Important
This step is required in case Cassandra 2.2.x is planned to be used as the storage. If you need guidance deploying Cassandra cluster, please refer to Deploying Cassandra Cluster. Detailed Cassandra documentation can be found on the Cassandra website.If you are using another data source as the CMS Repository, go directly to Install the CMS.
Importing the Cassandra Resource Access Point Template
Start
- Open Genesys Administrator and navigate to Provisioning > Environment > Application Templates.
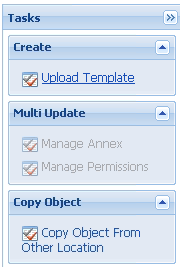
- In the Tasks panel, click Upload Template.
- Click Add and choose application template (APD) file to import window, click Add.
- Browse to the Cassandra_Resource_Access_Point_853.apd file. Click Open.
The New Application Template panel opens:
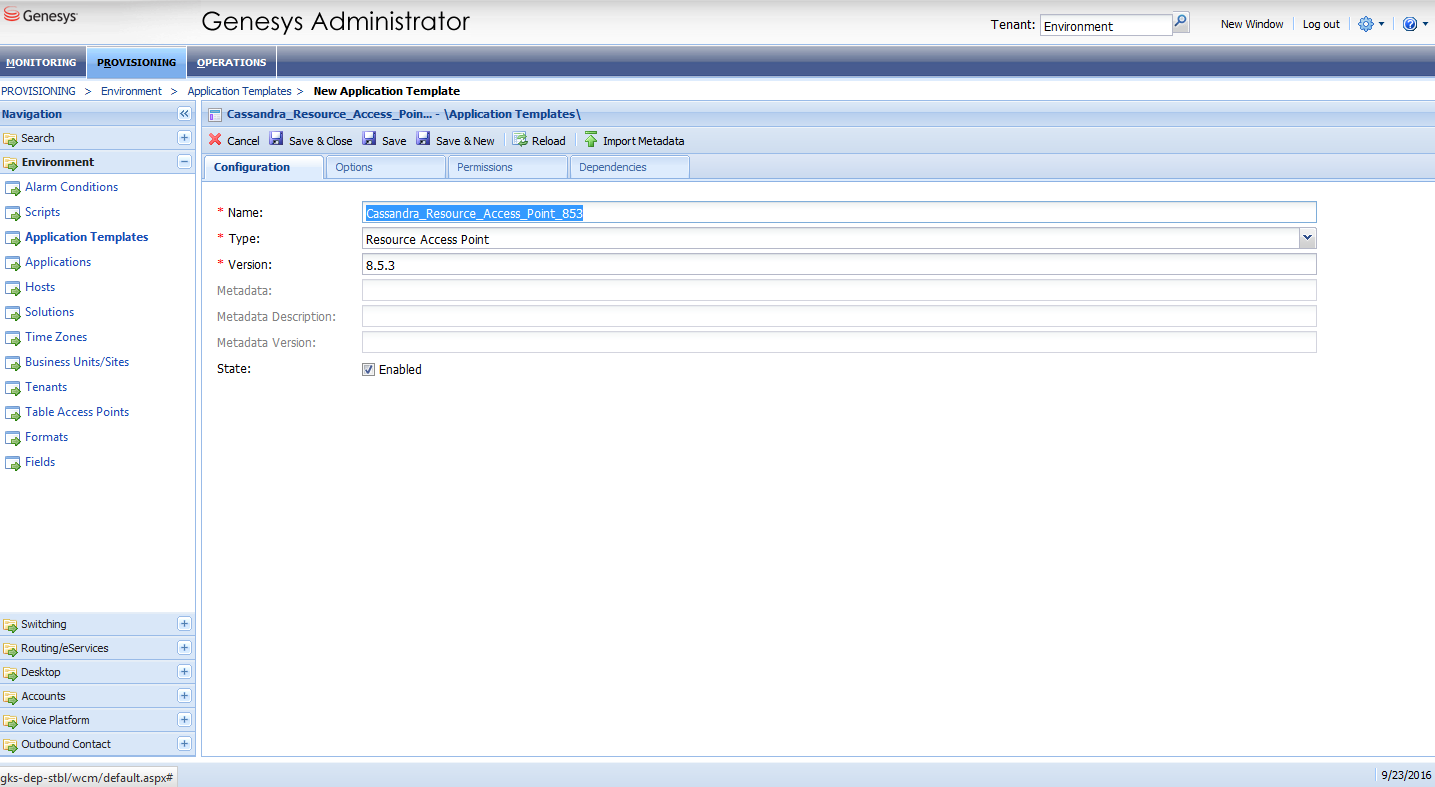
- Click Save & Close.


End
Creating the Cassandra Resource Access Point Application
Prerequisites
- You completed Importing the Cassandra Resource Access Point Template.
Start
- Open Genesys Administrator and navigate to Provisioning > Environment > Applications.
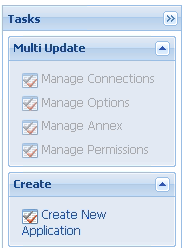
- In the Tasks panel, click Create New Application.
- In the Select Application Template panel, click Browse for Template and select the Cassandra_Resource_Access_Point_853 template that you imported in Importing the Cassandra Resource Access Point Template. Click OK.
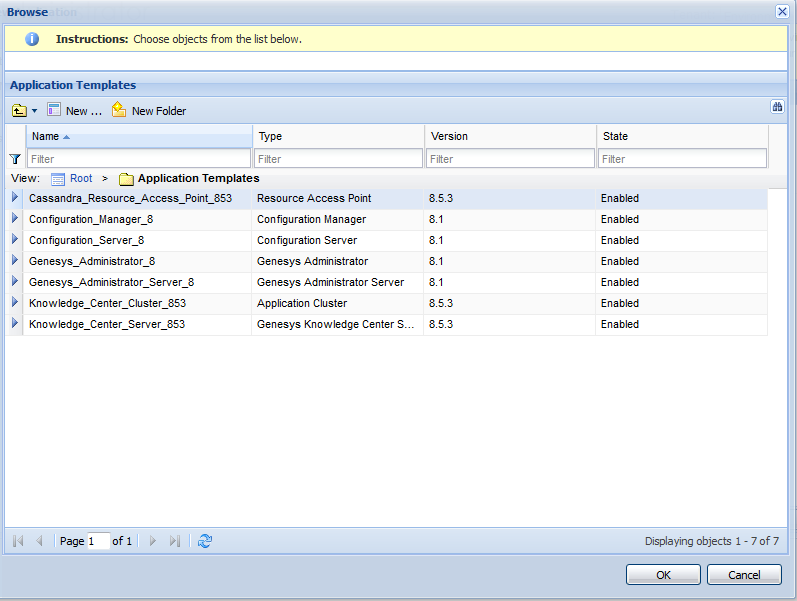
- The template is added to the Select Application Template panel. Click Next.
- In the Select Metadata file panel,
- click Browse
- click Add
- select the Cassandra_Resource_Access_Point_853.xml file
- Click Open
- The metadata file is added to the Select Metadata file panel. Click Next.
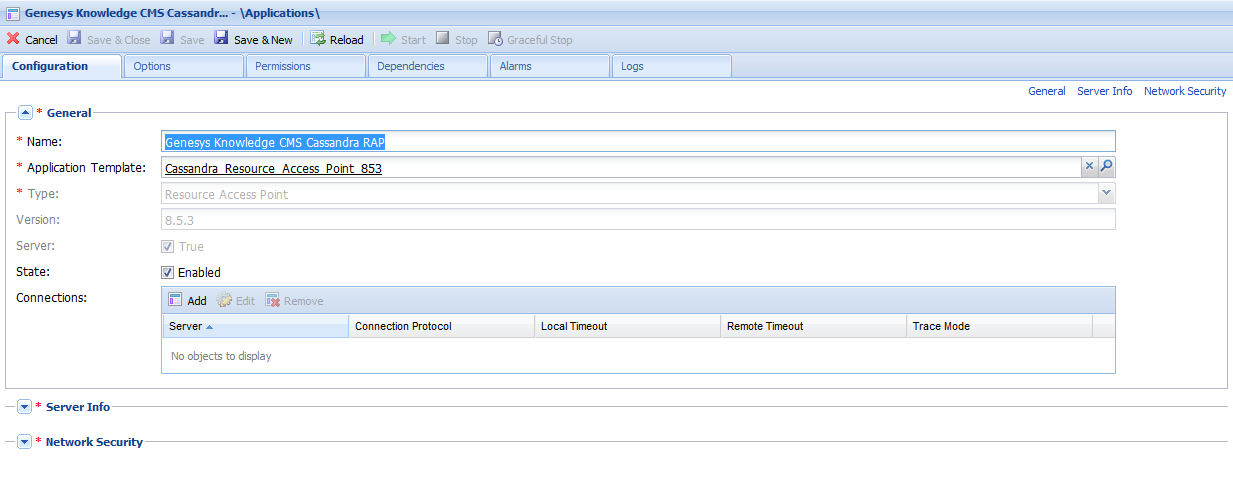
- In Specify Application parameters:
- Enter a name for your application. For instance, "Genesys Knowledge CMS Cassandra RAP"
- Make sure that State is enabled
- Select the Host on which the Access Point will reside
- Click Create

- The Results panel opens.
- Enable Opens the Application details form after clicking 'Finish' and click Finish. The Cassandra Resource Access Point application form opens and you can start configuring its properties.


End
Configuring the Cassandra Resource Access Point Application
Prerequisites
- You completed Creating the Cassandra Resource Access Point Application.
Start
- If your Cassandra Resource Access Point application form is not open in Genesys Administrator, navigate to Provisioning > Environment > Applications. Select the application defined for the Cassandra Resource Access Point and click Edit.
- Expand the Server Info pane.
- In the Tenant section, click Add and select your tenant. For instance, Environment. Click OK. (Tenant should be same as for previously created Genesys Application cluster <link to chapter about installing Cluster> )
- If your Host is not defined, click the lookup icon to browse to the hostname of your application, which should point to the host where you plan to locate your Cassandra node.
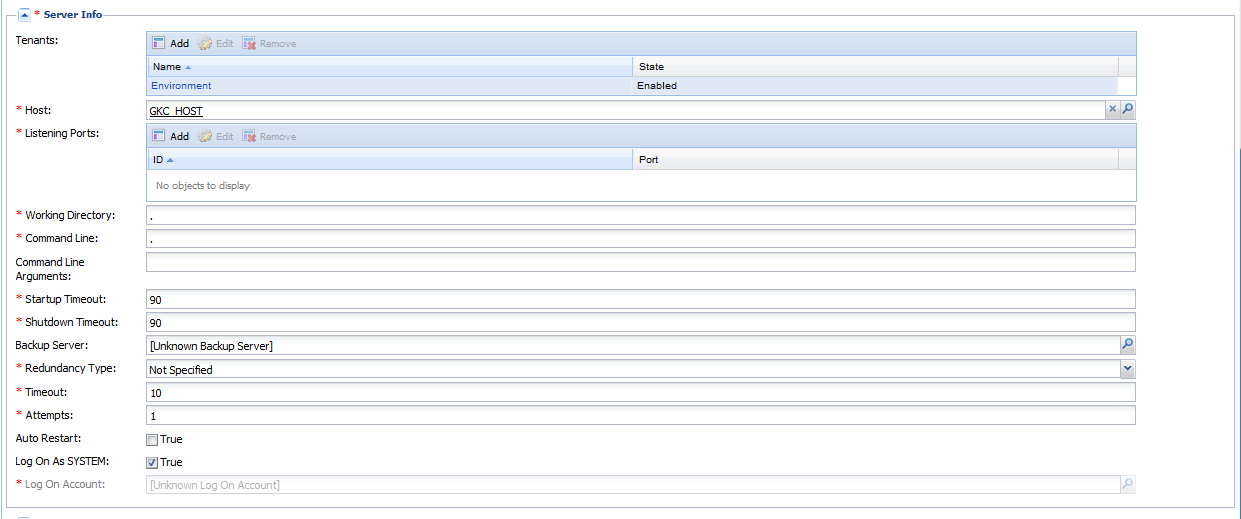
- In the Listening Ports section, create the default port by clicking Add. The Port Info dialog opens.
- Enter the Port. For instance, 9160 (use value of rpc_port of your Cassandra).
- Click OK. The default port appears in the list of Listening ports.
- Click Add again. The Port Info dialog opens.
- In the ID field, enter native.
- Enter the Port. For instance, 9042 (use value of native_transport_port of your Cassandra).
- Click OK. The native port appears in the list of Listening ports.

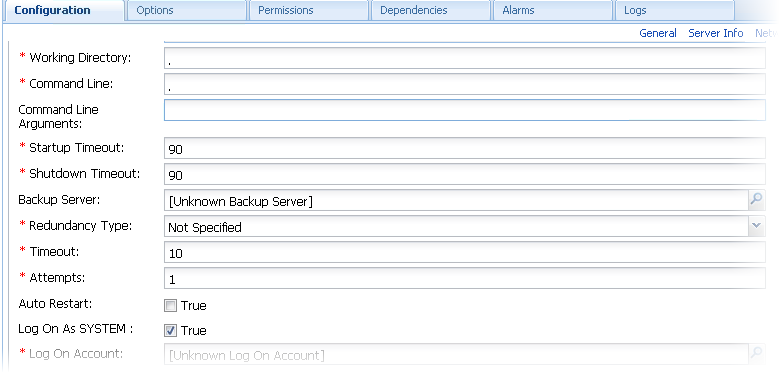
- Ensure the Working Directory and Command Line fields contain "." (period).
- Click Save.
- The Confirmation dialog for changing the application's port opens. Click Yes.
- Select the Options tab.
- In the [resource] section, make sure type is set to cassandra.
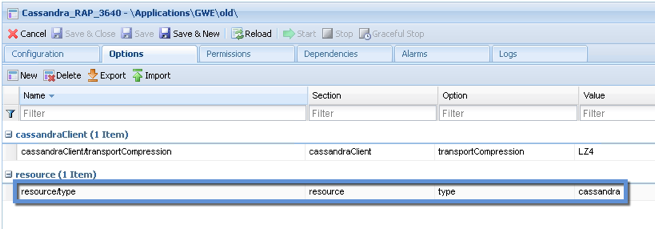
- In the [resource] section, make sure type is set to cassandra.
- Click Save & Close. If the Confirmation dialog opens, click Yes.


End
Configuring the Knowledge Center Cluster for Use with Cassandra
Prerequisites
- You completed Configuring the Cassandra Resource Access Point Application.
Start
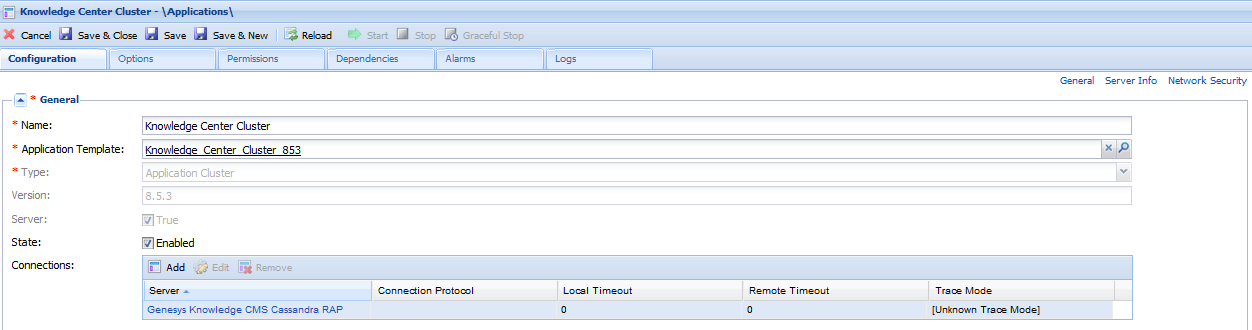
- Navigate to Provisioning > Environment > Applications. Select the application defined for the Knowledge Center Cluster and click Edit.
- In the Connections section of the Configuration tab, click Add. The Browse for applications panel opens. Select a Genesys application defined as a Cassandra Resource Access Point, then click OK.
- Select added connection to application, click Edit and ensure that the default connection port selected as ID
- (Optional) Open Options tab. In section cassandra-keyspace set valid values to use your Cassandra node.
- Click Save & Close. If the Confirmation dialog opens, click Yes

End
This page was last edited on June 21, 2017, at 19:11.
Comments or questions about this documentation? Contact us for support!