
Tuning Role-Based Access in Genesys Administrator
Web Engagement versions 8.5.000.26 and higher support role-based access for the following privileges:
- Access to Web Engagement Categories—allows users to create, read, update, or delete Web Engagement categories (starting with 8.5.000.26)
- Access to Web Engagement Script Generator—allows users to generate instrumentation scripts, which can then be copied and pasted onto the customer's site (starting with 8.5.000.26)
- Access to Web Engagement Pacing Configuration—allows users to configure Web Engagement pacing settings in Agent Group objects (starting with 8.5.000.33)
Note: Once you have enabled these privileges, as shown below, you must grant the appropriate privileges to any users who need to use the related functionality.
Here is how to set up these privileges:
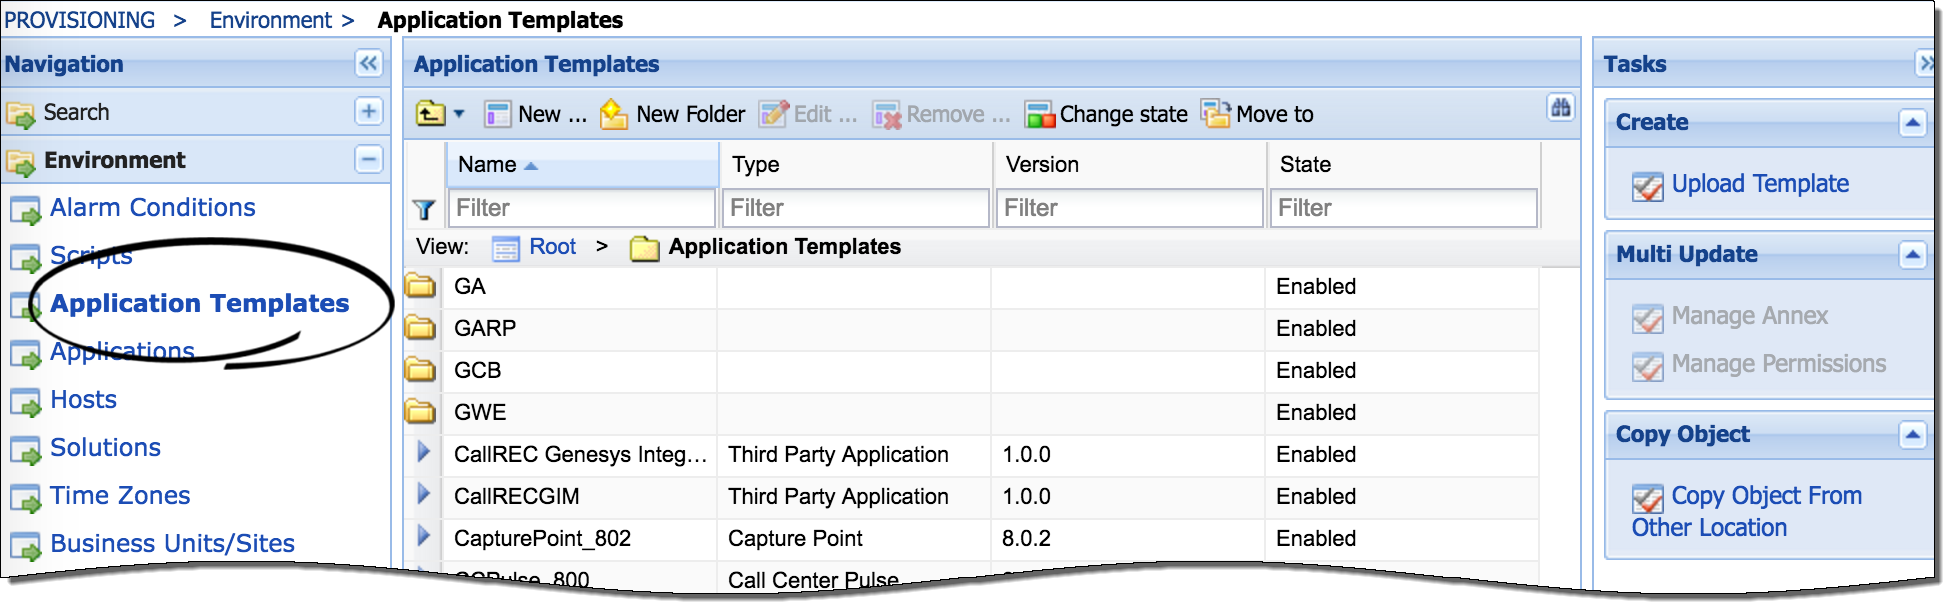
- Open Genesys Administrator.
- Go to Environment/Application Templates.
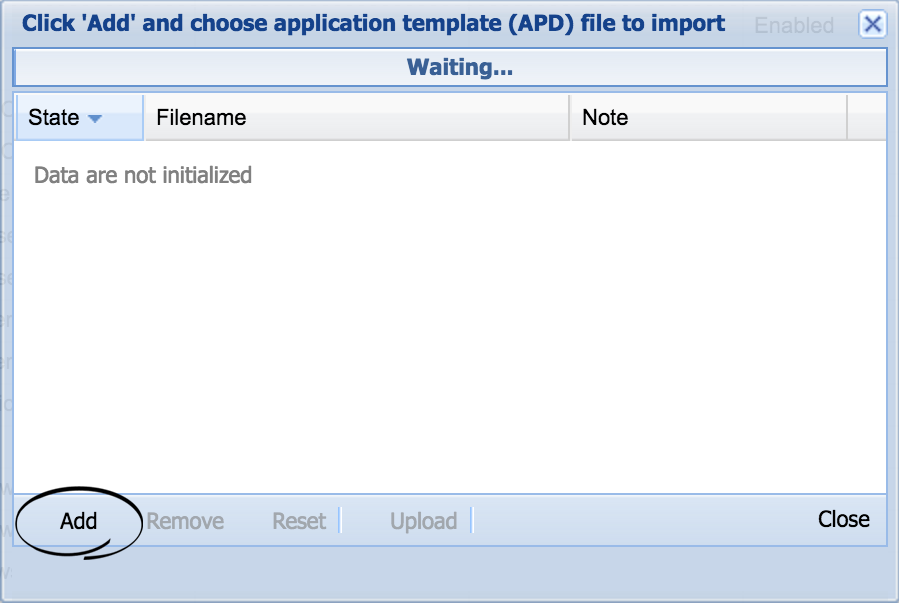
- Click the Upload Template button.

- Click the Add button and chose the path to Web_Engagement_GAX_Plug-in.apd, which is located in the IP directory of the Web Engagement Plug-in for Genesys Administrator Extension.
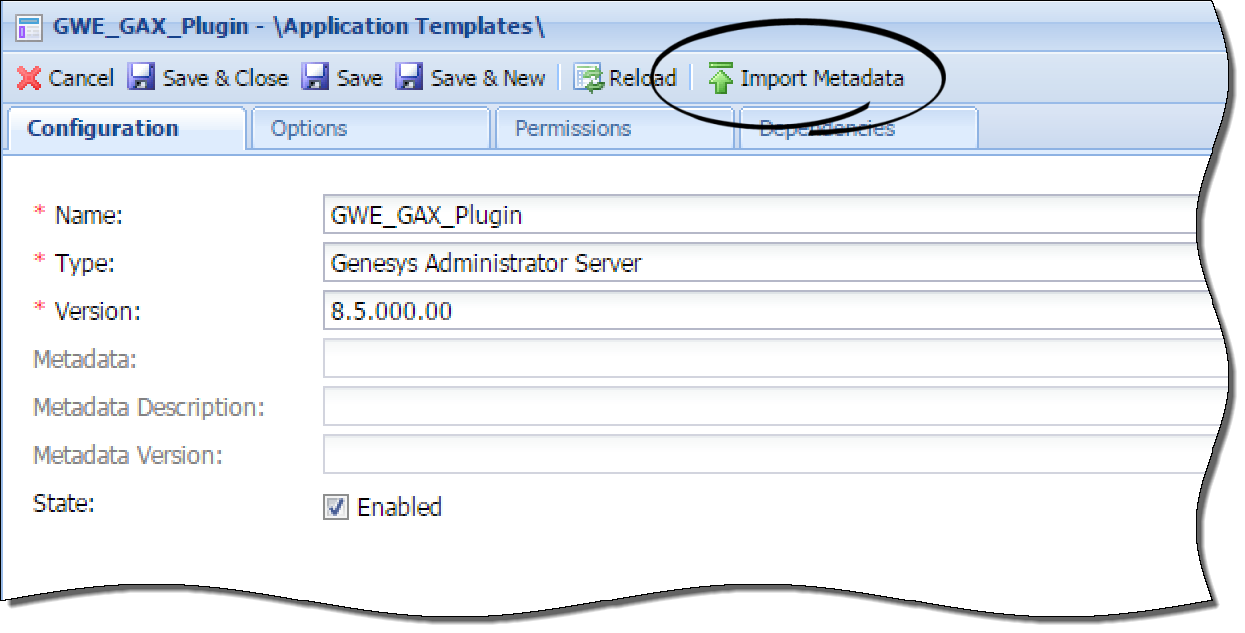
- Specify the Type as Genesys Administrator Server and click Import Metadata.
- Click Add and choose the path to Web_Engagement_GAX_Plug-in.xml.
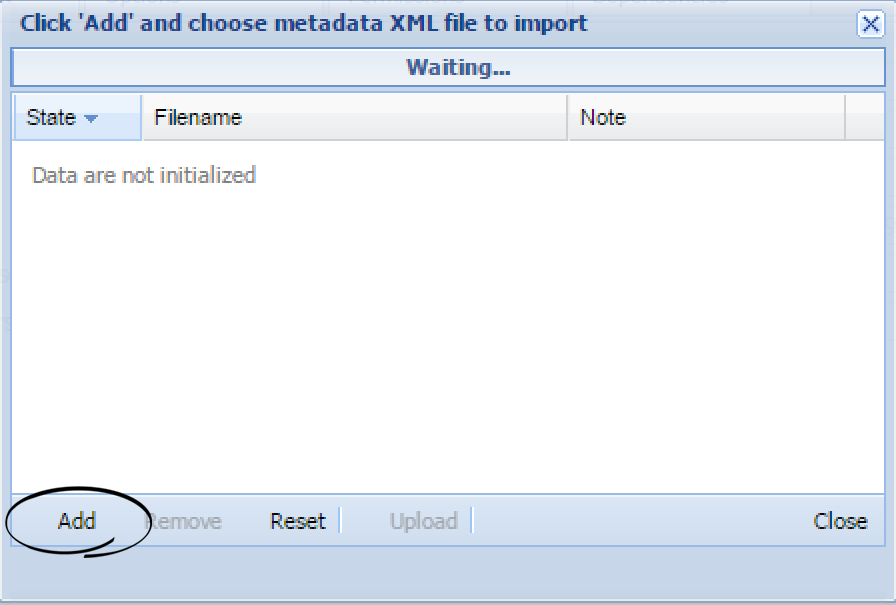
- When the XML file is imported, click the Save & Close button in the Upload Template dialog.
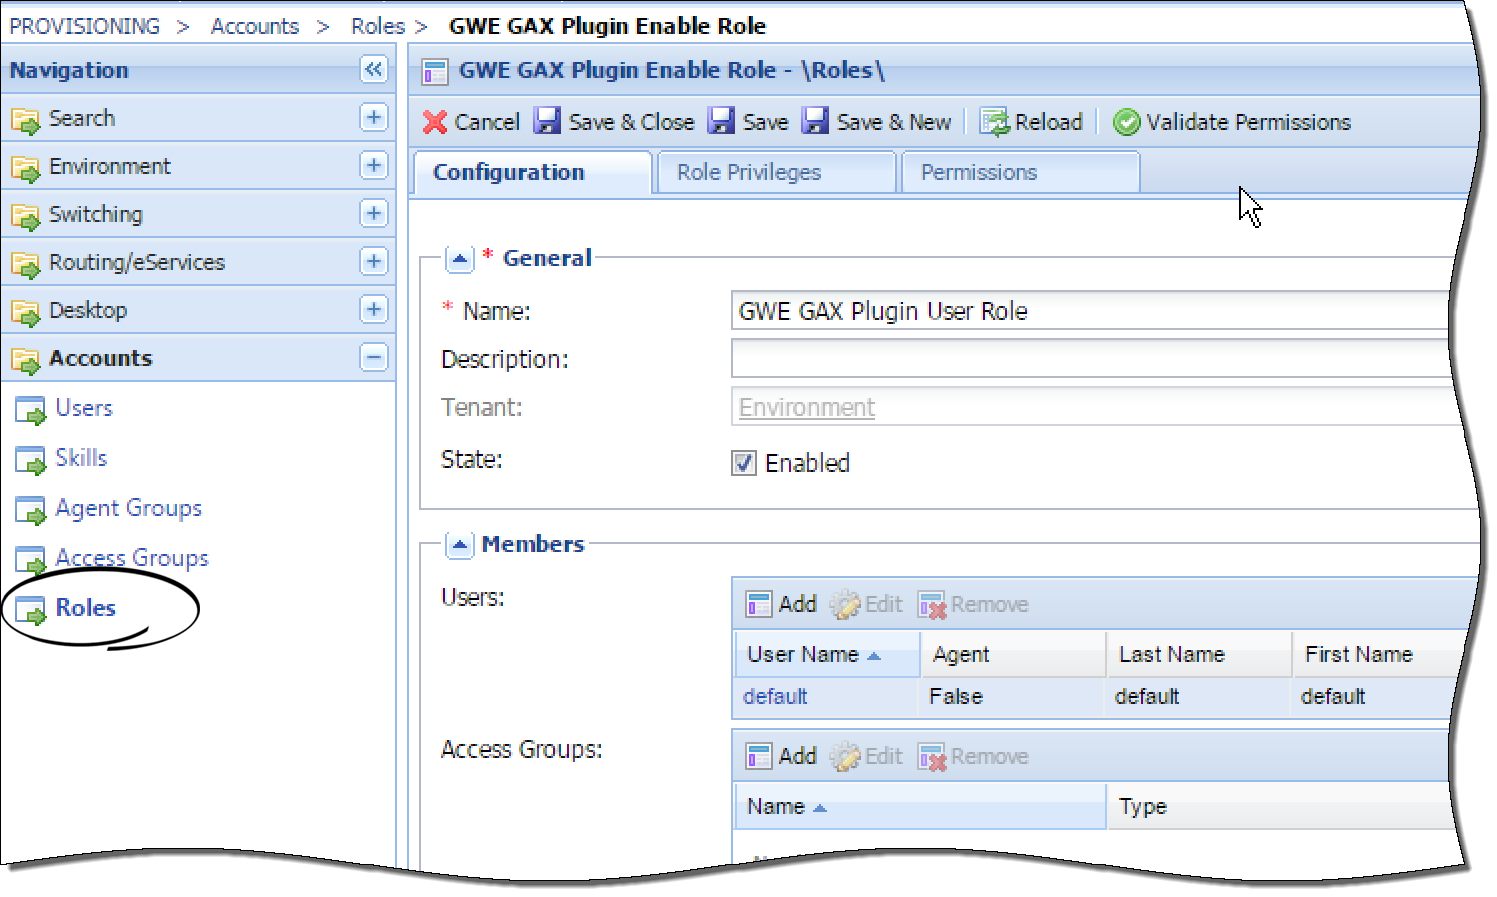
- Go to Account/Roles and open your role (or create a new one).
- Go to the Role Privileges panel and click the Genesys Administrator Extension product to add privileges.
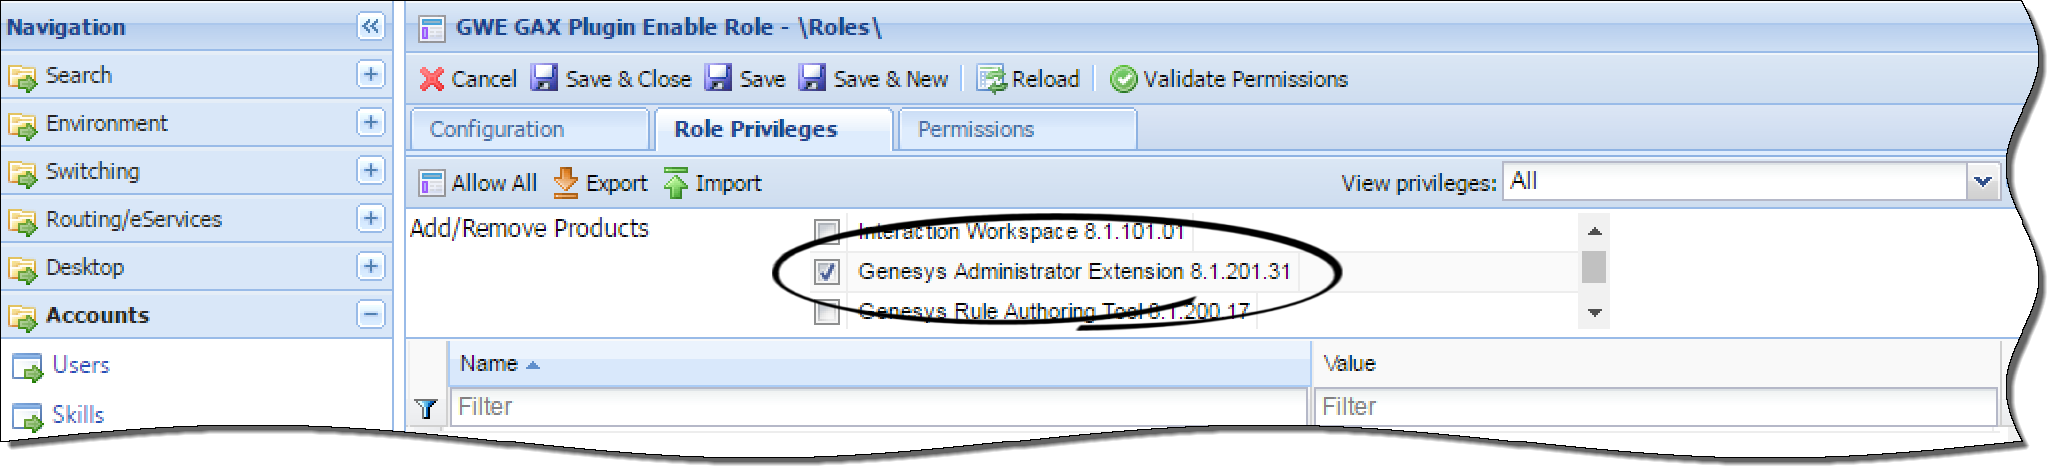
The list of privileges should include Access to Web Engagement Categories, Access to Web Engagement Script Generator, and (starting with version 8.5.000.33) Access to Web Engagement Pacing Configuration. To enable a privilege, set it to Allowed. - Click the Save & Close button.


This page was last edited on May 15, 2017, at 20:04.
Comments or questions about this documentation? Contact us for support!