Contents
Getting Started with Genesys Decisions Forecast
When you open the Genesys Decisions Forecast application, you see the list of forecasts that have been created for your organization. This is the main page – or home page – for the application. The default view for the page shows only the forecasts that are enabled. Until you change the sort order, the forecasts are sorted based on the last time that each was modified.
In addition to the content on this page, the following video provides an overview of the Decisions Forecasting module. The video shows you a sample forecast scenario and describes how to apply modifications to adjust the forecast data.
Main Action Menu
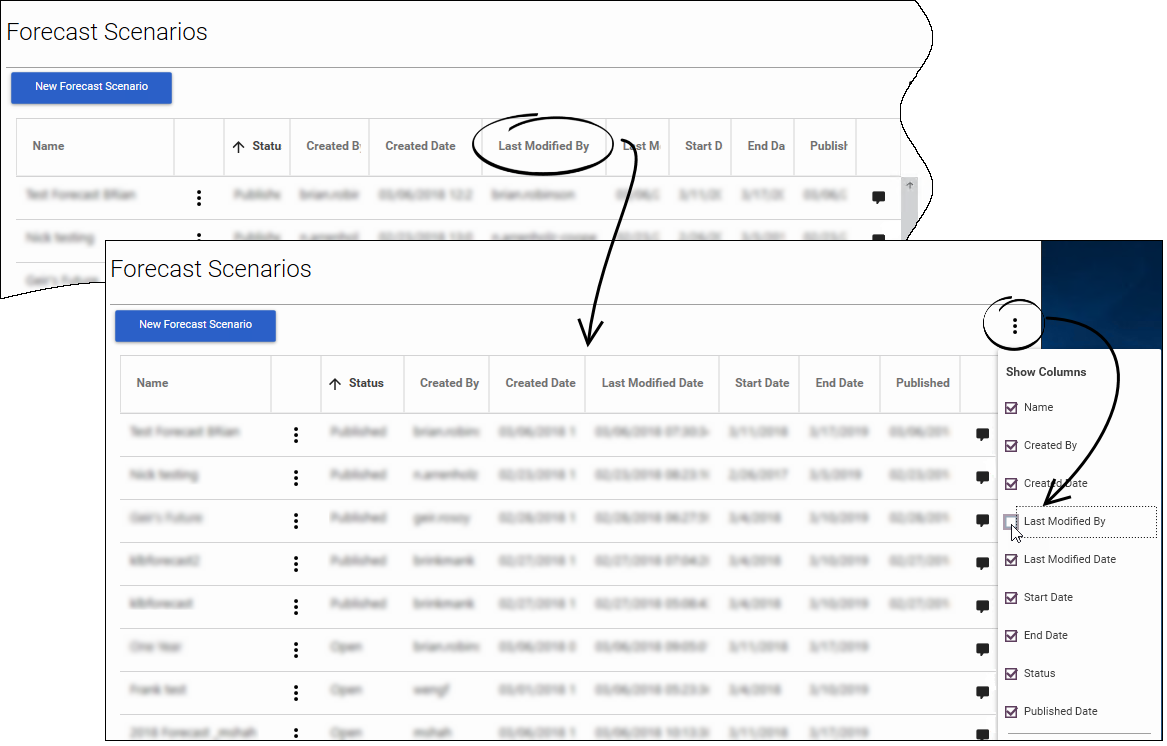
There is an action menu at the top of the Forecast Scenarios table on the Forecast application's home page (see the figure). From this menu, you can select actions that impact the table:
- Show/hide each column
- Refresh Forecasts
- Show Disabled Forecasts
- Close the form
Actions Specific to a Forecast Scenario
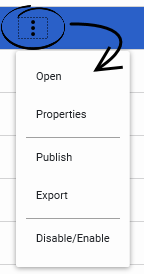
In addition to the action menu at the top of the Forecast Scenarios table, there is an action menu within each row of the table. This action menu impacts only the forecast scenario with which it is associated. Actions specific to a forecast scenario include the following:
- Open: Opens the selected forecast scenario. Once opened, you can view data for each forecast. You can also modify the forecasts, if required.
- Properties: Shows all of the currently-selected options for the forecast. You can change the properties, as necessary.
- Publish: Publishes the selected forecast. Publish the forecast to make it available to be applied to a Decisions Planning Scenario. You cannot change published forecasts. If you need to make a change to a forecast after it has been published, make a copy and work with that.
- Export: Exports the forecast information and results to an Excel file.
- Disable/Enable: Disables a forecast. Once disabled, you cannot open, publish, or edit that forecast scenario. In addition, the forecast scenario will no longer display, by default, in the Forecast Scenarios table on the home page. To re-enable a disabled forecast scenario, first select Show Disabled Forecasts from the action menu at the top of the Forecast Scenarios table, and then use the action menu that is specific to the disabled scenario to enable it.
Working with Columns in the Forecast Scenarios Table
You can manipulate the columns and the data in the Forecast Scenarios table to better display what is most relevant to you. For example, you can use the column header row at the top of the Forecast Scenarios table to sort data and organize the content.
Sorting Data in Columns
In the Forecast Scenarios table, click a column heading to sort the data in ascending or descending order. An arrow displays in the column header to indicate the order (see the following figure).
Arrange Columns
You can move columns around in the Forecast Scenarios table. Click a column heading and drag it to the desired location in the Forecast Scenarios table. For example, you might want the Status column to display at the left side of the table, instead of the far right (see the following figure).
Hide or Show Columns
You can hide or show columns, depending on the type of information that matters to you. For example, in the figure to the left, the user is hiding the Last Modified By column. Hiding unnecessary columns is a good way to focus on relevant information. Alternatively, if this column is hidden, but you think that the information is relevant to what you are doing, then select the check box beside the Last Modified By column in the main action menu to add that column to the table again.
Viewing and Adding Comments to Forecasts
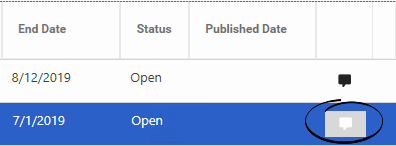
You can add comments and notes to forecasts in the Forecast Scenarios table on the Forecast application's home page. Click the "Comments" icon (![]() ) beside a forecast on which you want to comment. In the Comments pane that opens, click New Comments, and enter your comment. Click Add to add it to the forecast.
) beside a forecast on which you want to comment. In the Comments pane that opens, click New Comments, and enter your comment. Click Add to add it to the forecast.
Click the Comments icon to open the Comments pane and view the comments and, optionally, to add your own notes. The following figure shows the open Comments pane.


