Creating a Forecast Scenario
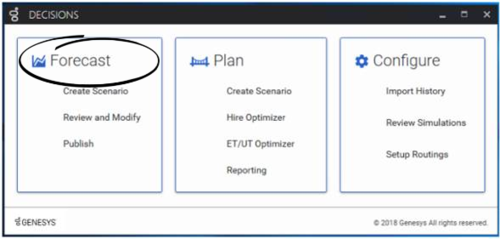
Open the Genesys Decisions Forecast application from the Decisions hub.
The Forecast home page opens and existing forecast scenarios display in table format. If you have not selected the option to show disabled forecast scenarios, then you will see only enabled forecasts.
At the top of the Forecast home page, click New Forecast Scenario (![]() ). The New Forecast Scenario wizard opens.
). The New Forecast Scenario wizard opens.
A forecast scenario is a group of individual forecast series for a given amount of time. Each forecast scenario must have a unique name so that it can be identified by you and other users in your organization. You must enter the time frame for the forecasts when you create a new forecast scenario. The same start and end dates are used for each forecast in the forecast scenario.
You must also select the Decisions routing. The routing selection determines which Decisions Contact Groups will be available for selection on the second page of the wizard. The selection of Contact Groups defines the dimensions that will be used to create the individual forecasts.
Finally, you must select the metrics for which you wish to see forecasts. A unique forecast is created for each combination of metric and dimension.
Once the wizard is finished, a page opens in which you select, view, and modify the individual forecasts.

