Change the standard reports (templates)
You can create and use templates to simplify widget creation? Any users with the appropriate privileges can create or modify the templates. You can then create various widgets using your report template.
Contents
Manage standard report templates
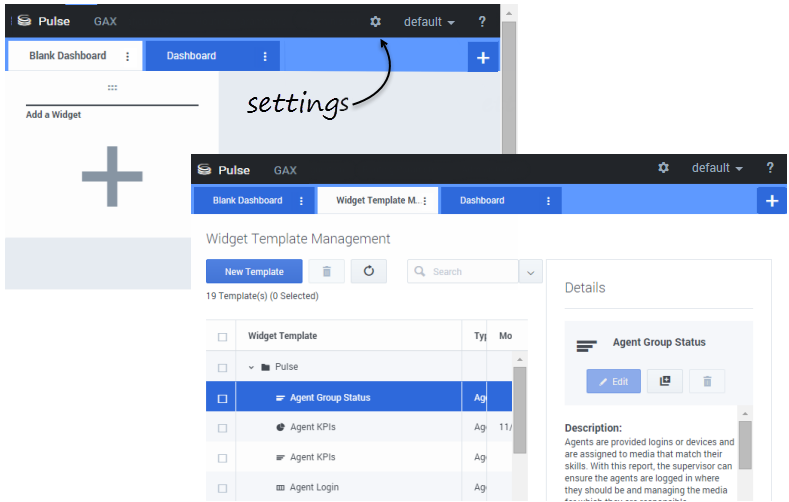
To manage shared widget templates, select Settings.
The easiest way to create a template is to clone and edit an existing widget template within Genesys Pulse. Genesys Pulse provides a basic set of predefined templates, complete with statistics that are typical for reporting activities handled by Genesys solutions. Any users with the appropriate privileges can create or modify the available templates.
To create a widget template, you must add or configure:
- One or more object types.
- One or more statistics.
- One widget type with specific options to display the information.
Hide templates from other users
When you create your widget templates you can choose to prevent others from seeing and using your templates.
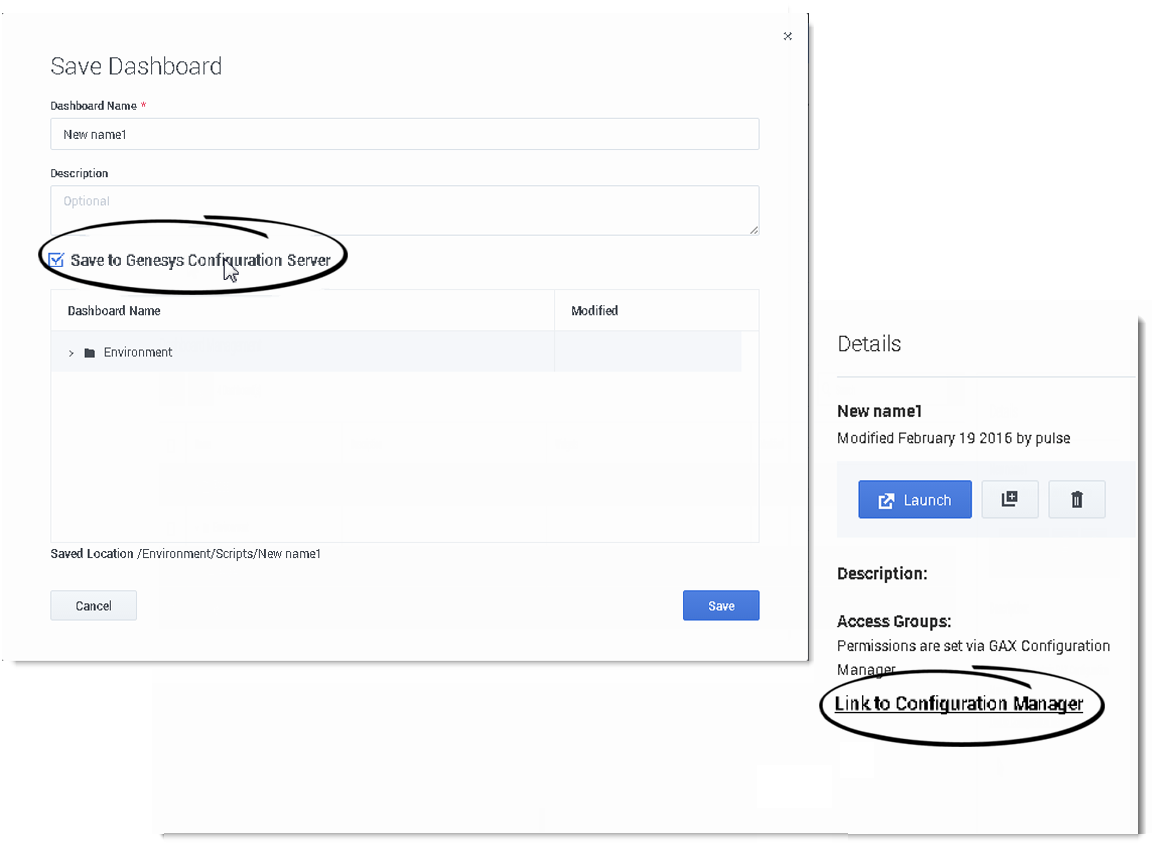
When you save your templates, choose the option Save to Genesys Configuration Server.
Then, from the template management, click Link to Configuration Manager on the right under Access Groups.
From here, you can define what permissions people have for your templates.
Select statistics
Within the Pulse statistic definition, you can specify statistic parameters regardless of whether they are available on any StatServer in your environment. This means you must also update the StatServer options to ensure that the StatServer connected to Pulse contains the corresponding options (for example, statistic types and filters). You can show or hide statistics as needed.
You must add at least one non-string statistic.
Choose the statistics and properties to include in your template. See report templates and statistics details.
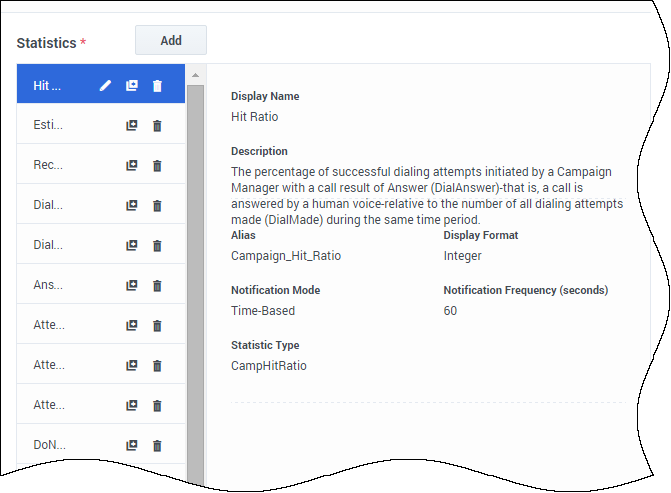
Pulse displays statistic details when you select a statistic. This information includes the components of the StatType definition and other parameters that form the request that Pulse sends to StatServer. You can modify a statistic definition within Pulse when you create, clone, or edit a template.
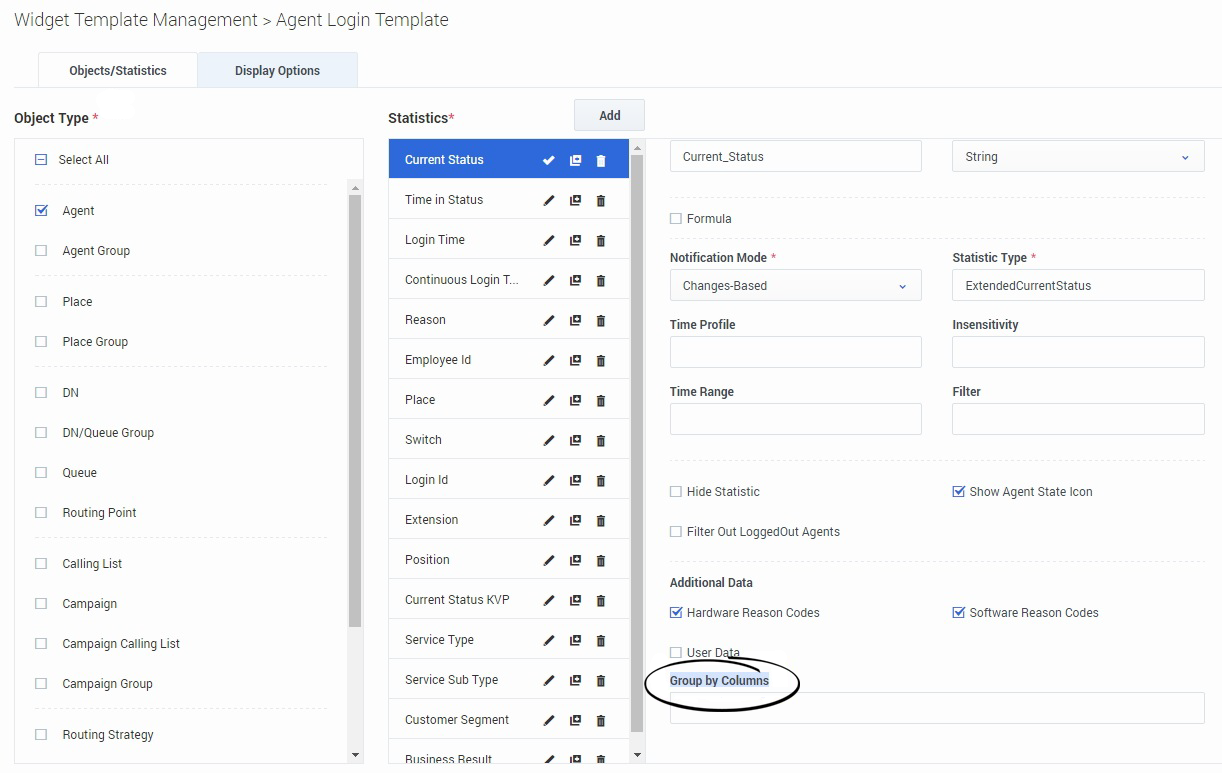
Statistics Group by Columns
First, the StatType with GroupBy and GroupByColumns must be defined in Stat Server Options.
Once the statistics are defined, you can create a template with that statistic using the Group by Columns field. See GroupBy on the Statistic Properties page.
You can then create widgets using this new template.
Display options
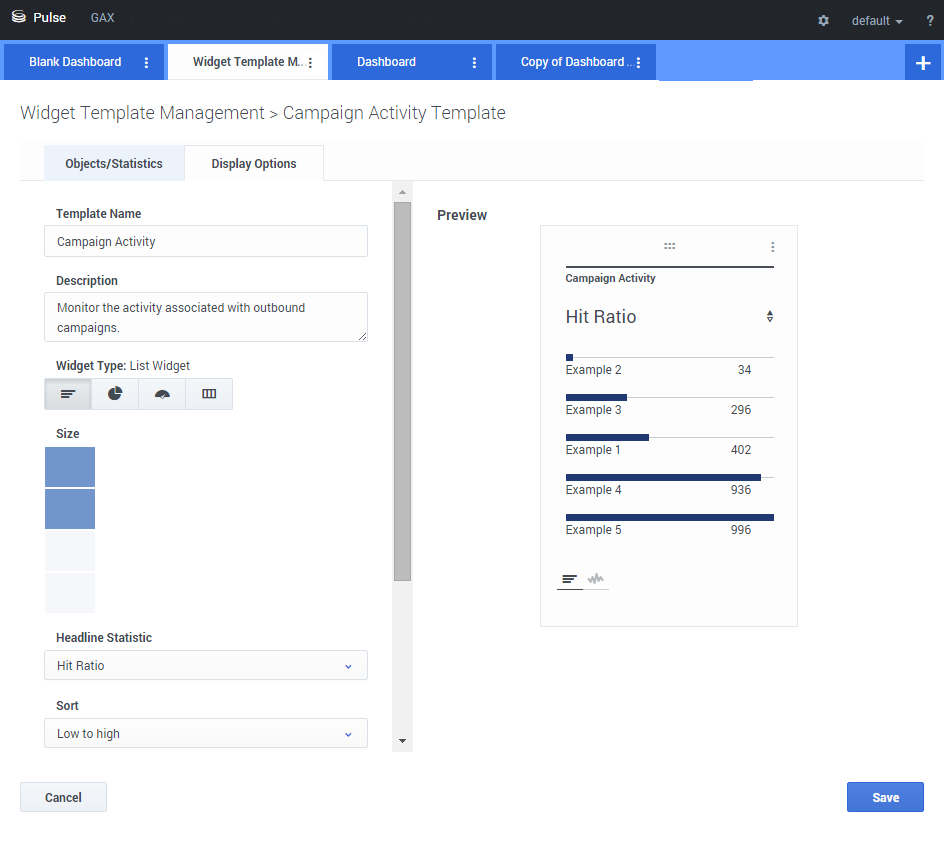
The final step to validating your template is to define the display options of your report widget. This is what users see, but they can then change the options on their own dashboard.
- Name the report widget and provide title
- Select the Widget Type to display.
- Select additional available options
- Select options associated with the visualization (for example, thresholds and size).
- Optional: For templates configured to use changes-based statistics (CurrentStatus and ExtendedCurrentStatus), set enable quick updates. See Deploying RabbitMQ for Quick Widget Updates.
- If needed, select the statistics for alerts and define the alert values (from 1 to 3).
Note: The maximum value for the bar charts in List and KPI widgets is the maximum value of all the objects selected for the statistic in this widget or the maximum value of the alert configured for this widget.
Propagate template changes
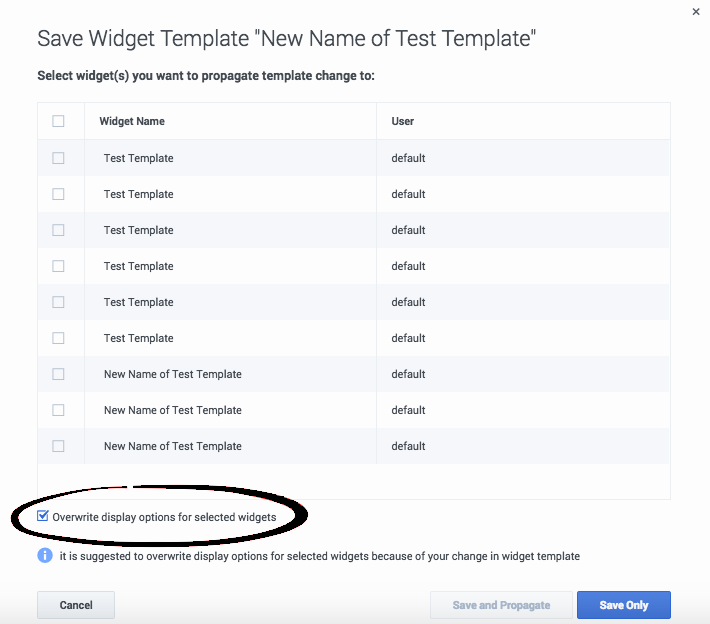
When editing is finished and you click Save, Pulse displays a list of all user widgets that use the template. Pulse lists the titles and owners of the widgets.
- Select which widgets should be updated.
- If needed, Pulse provides an Overwrite Display Options for widget(s) selected above checkbox.
- If you select the checkbox, Pulse updates the widget type, headline, and all other display options in the widgets (except refresh rate), as well as the statistic definitions and allowed object types.
- If you don't select the checkbox, Pulse updates only the statistic definitions and allowed object types.
Select Collectors
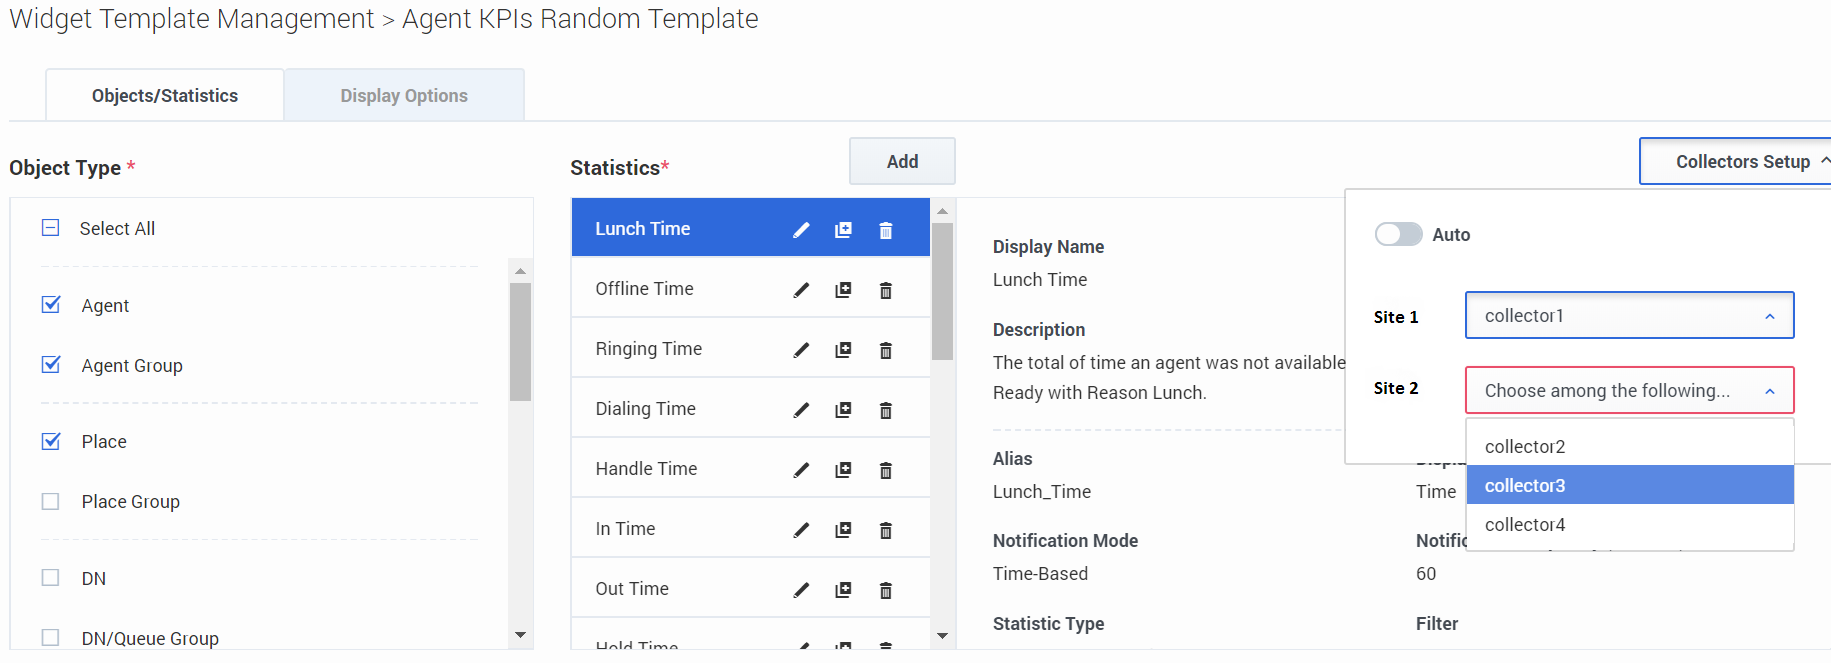
Starting with release 8.5.108, Genesys Pulse allows users to assign specific Pulse Collectors to handle all widgets based on this template. To enable this functionality, you need to set the enable_manual_collector_binding option to true in GAX configuration and assign the role with the Pulse Manually Bind Collectors privilege to selected users.
On the screenshot you can see Site 1 and Site 2 as it is a multisite configuration. For a singlesite configuration there will be only one site.
What do I do next?
You might want to learn more about:

