
ZAProxy
Contents
The ZAProxy (Zed Attack Proxy) included in the Co-browse Server installation package is based on the OWASP Zed Attack Proxy Project. In addition to acting as a proxy, the ZAProxy also provides a UI for validating the vulnerabilities in your website. For details, see Testing with ZAProxy SecurityTesting.
Complete the procedures below to configure and run the ZAProxy.
Start/Stop the Proxy
Start the Proxy
Navigate to your Co-browse Server installation directory and launch tools\zapproxy\zap.bat (on Windows) or tools\zapproxy\zap.sh (on Linux). The proxy starts and opens the UI, which you can use to configure proxy settings, update the instrumentation script, and test the security of your site.

Stop the Proxy
To stop the ZAProxy, simply close the UI window.
Configure ZAProxy Host and Port
Start
- Open Tools > Options > Local proxy.
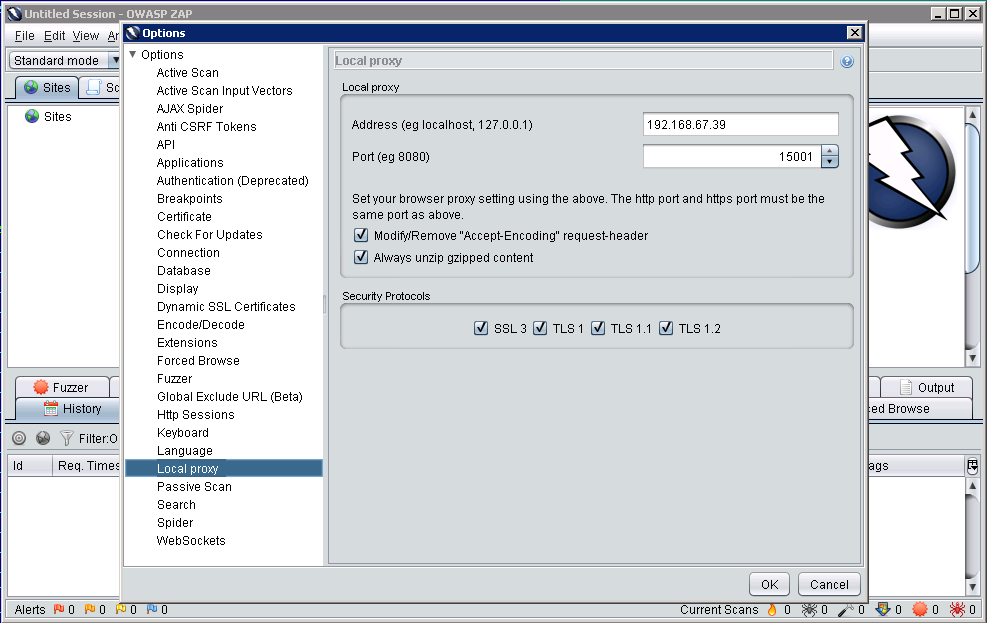
- In the Local proxy panel, specify the host and port of this proxy. Do not use "localhost" or "127.0.0.1" for the host name.
- Note the values of the host and port — you will use these to Set up your Web Browser.
- If you changed the settings, restart the proxy.

End
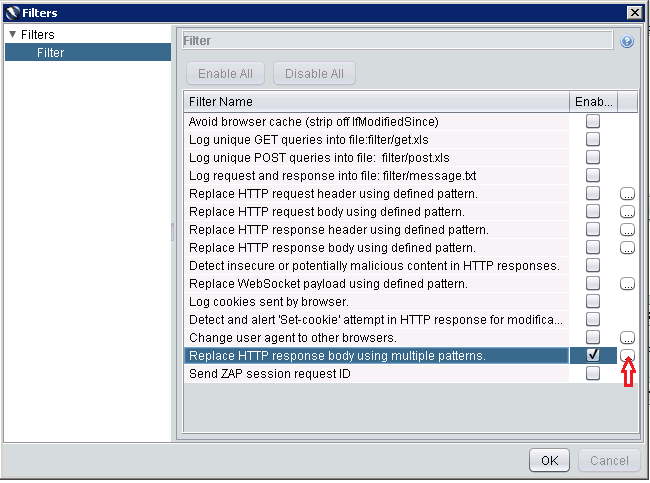
Update the Instrumentation Script
ZAProxy includes the default Co-browse instrumentation script, which you can view by completing the steps below.
Start
- Open Tools > Filter.
- In the dialog that opens, click the small oval with the ellipses (...), located near the checked box for the "Replace HTTP response body..." item.
- In the dialog that opens, select the line and click Edit.
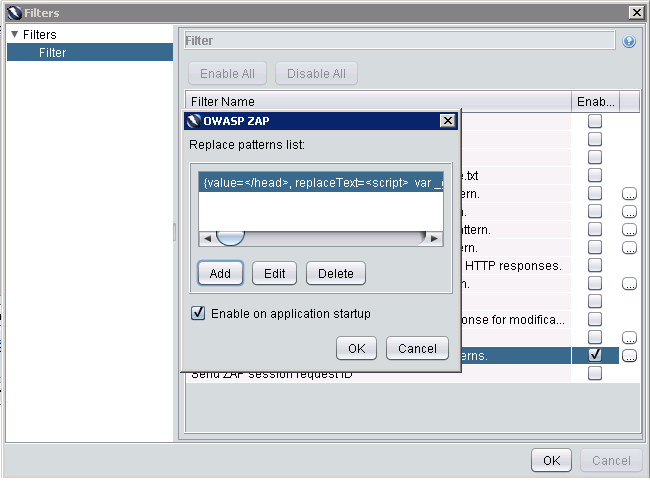
The Edit pattern dialog opens.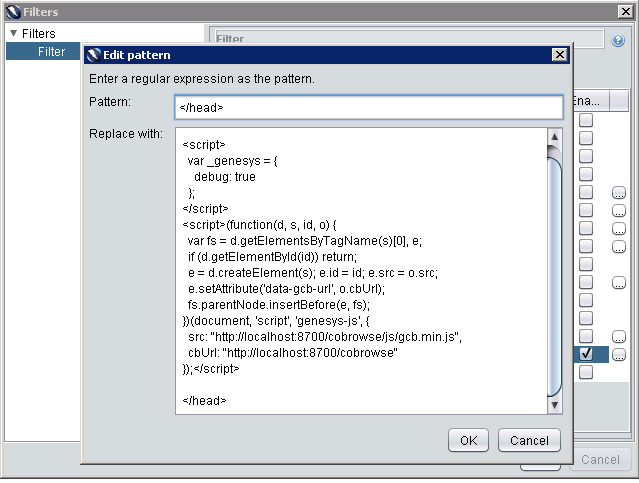
- To save the changes, click OK on the current dialog and on the two parent dialogs.


End
Configure the URL Filter
To configure URLs that the proxy should ignore, use one of the following ways:
- Select File > Session Properties. In the Session Properties dialog, select Exclude from proxy, double-click URL regexs and add your URL. Click OK.

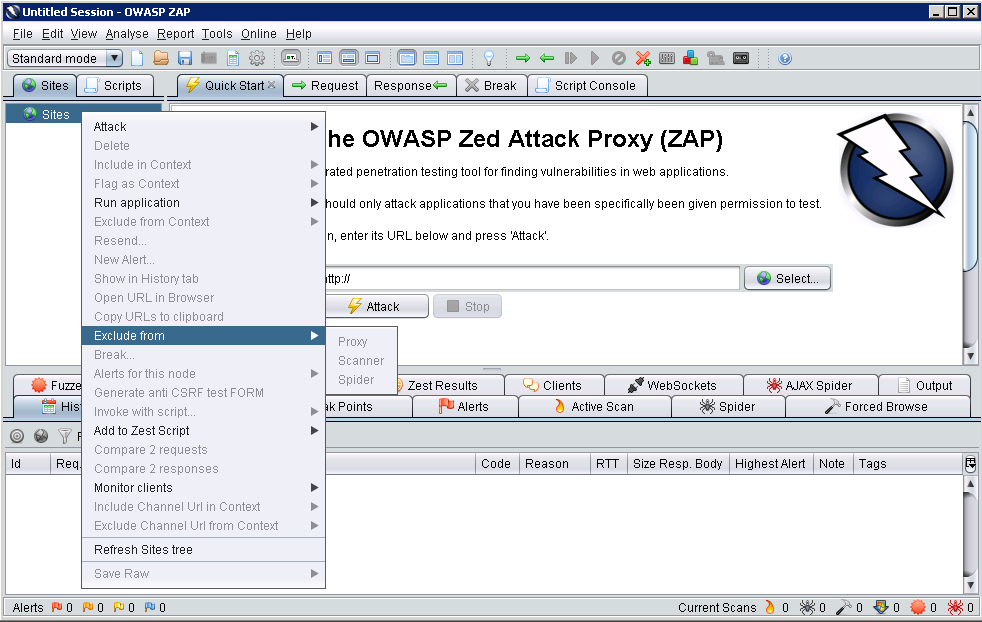
- In the Sites tab, right-click on a site and select Exclude from > Proxy.


If you want the proxy to remember the excluded URLs beyond the current session, select File > Persist session... and select a file to save your session.
Set up your Web Browser
Start
- Start your web browser.
- Open your Internet settings. For instance, in Firefox, select Tools > Options. The Options dialog window appears.
- Select Advanced and in the Network tab, click Settings.... The Connection Settings dialog window opens.
- Select the Manual proxy configuration option and do the following:
- Enter your host IP address in the HTTP Proxy text box.
- Enter the port used by the ZAProxy in the Port text box. This is the port you made note of in Configure ZAProxy Host and Port.
- Select the Use this proxy server for all protocols option.
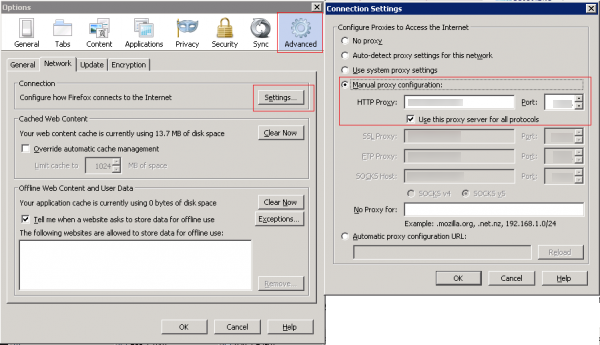 ZAProxy used in Firefox
 - In the "No Proxy for:" text box, list the IP address or domain name as it appears in the data-gcb-url attribute of the Co-browse JavaScript (see Basic Instrumentation). This ensures that communication with Co-browse server is not proxied. Note: If the proxy and Co-browser Server are running on the same machine, this value will be the same as the IP in the HTTP Proxy text box.
- Click OK. Now your browser is using the ZAProxy, which will inject the Co-browse JavaScript code into all web pages except those you specified in Configure the URL Filter.

End