Genesys Co-browse Sessions
Contents
A session is initiated when a customer requests to co-browse. The session stays idle until the agent joins. Then the session is considered to be active. The session ends when one of the parties (the customer or the agent) exits. It is not possible to re-join a co-browse session. If one party exits accidentally, a new session must be initiated. Starting with Co-browse 8.5.003, an agent is by default limited to handling one co-browse session at a time.
Session Identifiers
Each live session has two identifiers that can be used to track the session:
- Session access token (Session ID)—A sequence of nine digits that is applicable only to live sessions.
- History session identifier (UUID)—A session identifier in the database.
Starting and Stopping a Session
A co-browse session can only be initiated by a customer. An agent does not have the option or ability to send a co-browse request to a customer. This provides greater security to the customer. In order to initiate a co-browse session, the customer must already be engaged in an interaction with an agent, be it a voice call or a chat.
When the session is established, the agent's browser displays a view of the customer's browser. The view the agent sees is loaded from Genesys Co-browse Server, so only certain images might be loaded from the original website. The agent is not a client of the website. All actions taken by the agent are passed onto and "replayed" on the customer's side.
Initiating a co-browse session from a voice call or external chat without integration
If a customer and agent are engaged in a voice call or external chat without integration, a co-browse session can be initiated by the customer if the need arises. For example, the agent might be trying to walk the customer through how to submit a specific form, but the customer is having issues understanding where the agent is directing him or her to go on the page. In this scenario, the agent might suggest they engage in a co-browse session. While the agent can verbally suggest a co-browse session, the customer is the one who must initiate the session.
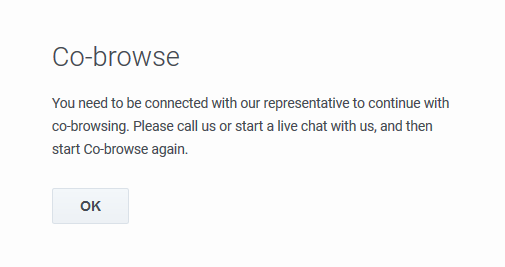
By default, there is a "Co-browsing" button on the left side of every web page that supports co-browsing. Note that the location on the page can vary, depending on configuration. When the customer clicks this button, they are presented with a message window asking them to confirm that they are engaged in a voice call with a representative.
frame|center|Co-browse message
If the customer selects "No", a new message advises them to either initiate a voice call or a chat in order to co-browse.
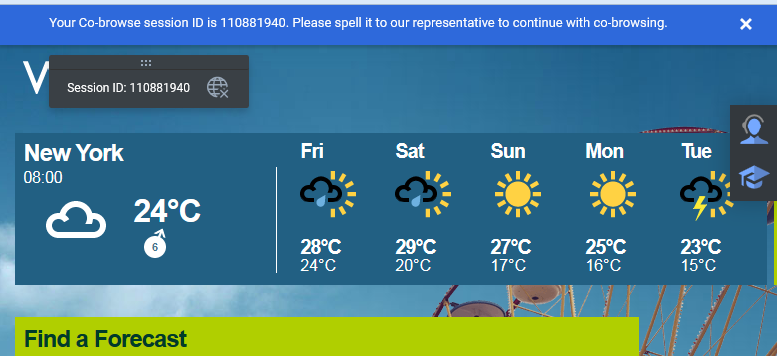
If the customer selects "Yes", a numeric session identifier appears on the customer's screen.
This identifier can then be read to the agent over the phone or the customer might have to send the session ID through their external chat window. The agent enters the session identifier in the appropriate field in Interaction Workspace, and then the customer's browser is displayed in the agent's view. There is no need to navigate to the web page the customer is viewing; the session identifier ensures the exact page is embedded in Interaction Workspace for the agent. The customer is notified on his or her screen that the session has been established.
frame|center|Session identifier, Agent view
Initiating a co-browse session from Genesys Widgets
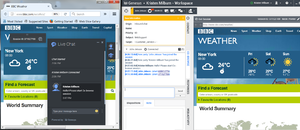
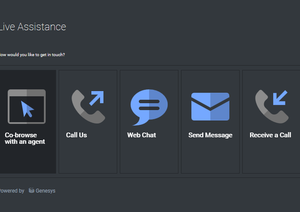
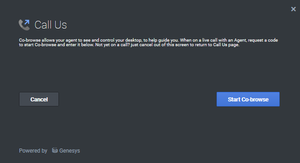
A customer can also initiate a co-browse session through a Genesys Widget integrated into the website. You can enable Genesys Co-browse in several Genesys Widgets, for example:
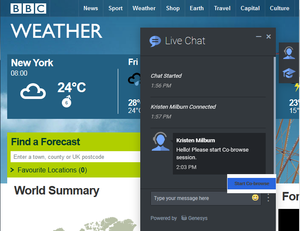
Initiating a co-browse session from the Web Chat Widget
Initiating a co-browse session from the ChannelSelector Widget
Initiating a co-browse session from the CallUs Widget
Stopping a co-browse session
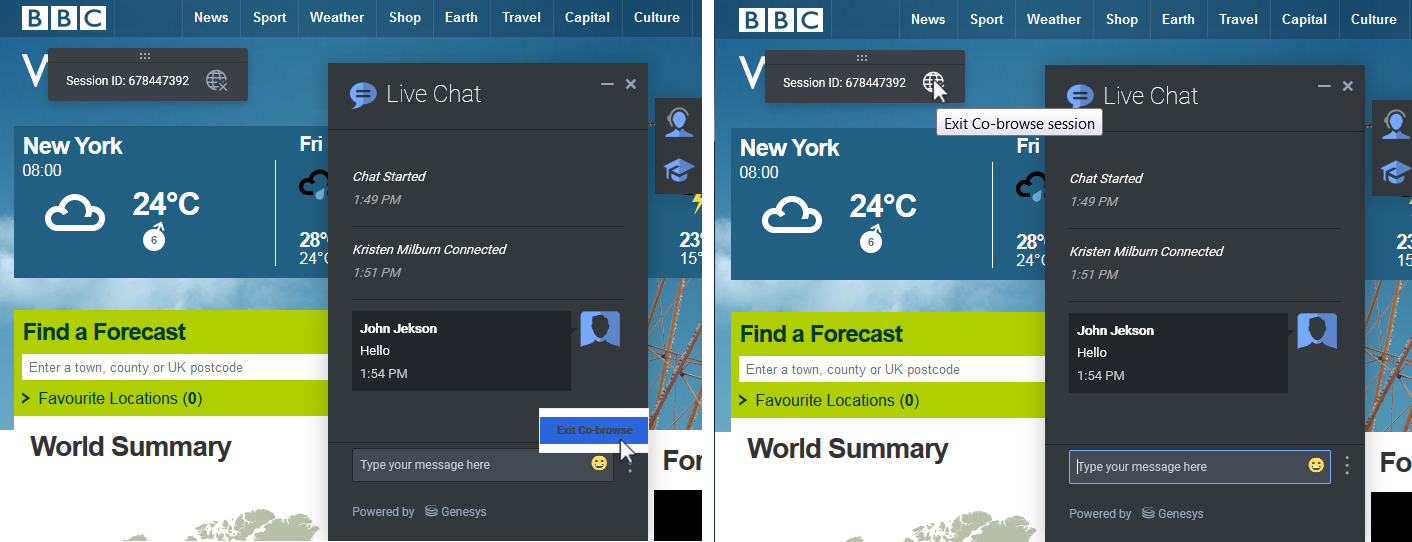
Once a co-browse session has been established, both parties have the ability to terminate the session. At any time, either party may click the "Exit Co-browse session" button (again, the name and location of this button can vary).
The other party will be notified that the session has ended, and the agent's browser will no longer display a view of the customer's browser. Also, if the primary interaction (chat or voice call) is terminated, the co-browse session will be terminated automatically. Sessions can also terminate due to inactivity, after a pre-configured timeout expires. Likewise, if the agent closes their browser, or navigates to a third-party website, the session will terminate if the agent does not return back to the session page within the pre-configured timeout.
Once a session has been terminated, it cannot be reactivated. If the session was deactivated accidentally, a new session has to be initiated, with a new session identifier.
Participating in a Co-browse Session
Once a co-browse session begins, the agent can use his or her mouse pointer to guide the customer through the web site. Agents start co-browse sessions in Pointer Mode. In Pointer Mode, the customer and the agent can see each other's mouse pointer but the agent can not enter any information into the web page, click buttons, or navigate the customer's browser. If the agent needs to enter information into the web page or to navigate the browser, he or she can send the customer a request to switch the co-browse session to Write Mode. For more information on Pointer Mode and Write Mode, see Pointer Mode and Write Mode.
All actions (mouse clicks, key presses, and so on) are actually performed on the customer side. Any actions taken by the agent are sent to the customer's browser. This ensures a secure approach, as all browsing is done on one side—the customer's side. This approach also provides for greater performance and a more seamless customer experience. Each participant can see the other participant's mouse movements as well. This enables an agent to point to specific sections on the web page to help direct the customer through their task.
Administrators can limit which fields are visible to and editable by the agent. Some fields might be grayed out entirely, and some might have the data masked. For example, administrators might choose to hide the customer's password, Social Security Information, and so on from the agent. The customer can easily identify which information is hidden from the agent. By default, all Submit buttons are deactivated for the agent. If he or she clicks on a Submit button, nothing happens. The customer always has permission to submit any web forms, just as they would while browsing normally.
One-Session Agent Limitation
By default, agents are prohibited from handling more than one co-browsing session at the same time. Starting with Genesys Co-browse release 8.5.003.04, you can disable one-session limitations and configure the number of simultaneous co-browsing sessions an agent can participate in with the agentSessionsLimit option in the cobrowse section of the Workspace Desktop Edition application.
When an agent is busy with a co-browsing session and a session limitation is enabled, other customers can still start additional Co-browse sessions from their browsers but the sessions immediately end with a configurable notification explaining the agent is currently busy with another Co-browse session. See Localization to configure this message.
Note that in Workspace Desktop Edition you can override any option on the agent group and agent levels, WDE Configuration Options and Annexes.

